Your Guide to Digital Signs Prices and True Costs
Trying to pin down the cost of a digital sign can feel a bit like asking, "How much does a car cost?" The answer is
LED screens on stage aren't just backdrops anymore—they're the pulsing, dynamic heart of today's live events. These huge digital canvases are designed to be insanely bright, easily cutting through the most intense stage lighting. They also offer incredible design flexibility, letting you build anything from a massive, flat video wall to creative, curved shapes that pull the audience right into the performance.
Walk into just about any modern concert, corporate event, or house of worship, and you'll immediately spot the visual centerpiece. Massive, brilliant LED screens have made the leap from a niche, high-tech novelty to an absolute must-have production tool.
This didn't happen overnight. It’s the result of a massive evolution in how we create and experience live events. Where we once had static banners and painted backdrops, we now have living, breathing digital worlds.
This technology brings a potent mix of benefits that older solutions like projection just can't touch. The biggest advantage? Sheer brightness. LED screens pump out images that stay crisp and vibrant even when they're competing with a full rig of stage lights or bright daylight. That's a game-changer for outdoor festivals and well-lit corporate keynotes.
The journey of LED screens from a specialized piece of tech to a stage essential is really a story about creative ambition. A huge moment was U2’s Popmart tour back in 1997, which featured a revolutionary LED display that was an astonishing 52 meters wide.
Sure, it was primitive by today's standards, but it signaled a new era where the visual backdrop could become a central character in the show. That tour kicked the door open for designers to think bigger, bolder, and way more dynamically.
The real magic of LED technology is its power to turn a physical space into a limitless digital canvas. It's not just about playing a video; it's about crafting an atmosphere, telling a story, and guiding the audience's attention with movement and color.
Beyond just being bright, the modular design of LED panels has unleashed incredible creative freedom. Designers are no longer stuck with a boring rectangular screen. Now, they can build displays in pretty much any size, shape, or configuration they can dream up.
This flexibility opens up all kinds of possibilities:
Ultimately, the reason led screens for stage design have taken over is simple: they give us the power to create shared, unforgettable moments. They provide the tools to build new worlds, share powerful messages, and make sure every single person in the venue has a stunning view of the action.
Diving into the world of LED screens for the stage can feel like you're suddenly trying to learn a new language, one filled with technical jargon. But here’s the thing: understanding a few core specs is what separates a pretty good visual experience from a truly breathtaking one. These numbers aren’t just for engineers; they directly translate to how your content will look and feel to every single person in the audience.
Think of it like buying a car. You wouldn't make a decision without knowing its horsepower or fuel efficiency, right? It’s the same with an LED screen. Getting a handle on these key specs empowers you to make a confident, informed choice that lines up with your creative vision and, just as importantly, your budget.
Let's break down the metrics that make the biggest impact.
This is all about how brightness, flexibility, and the ability to create immersion come together to make LED tech so dominant in modern stage design.
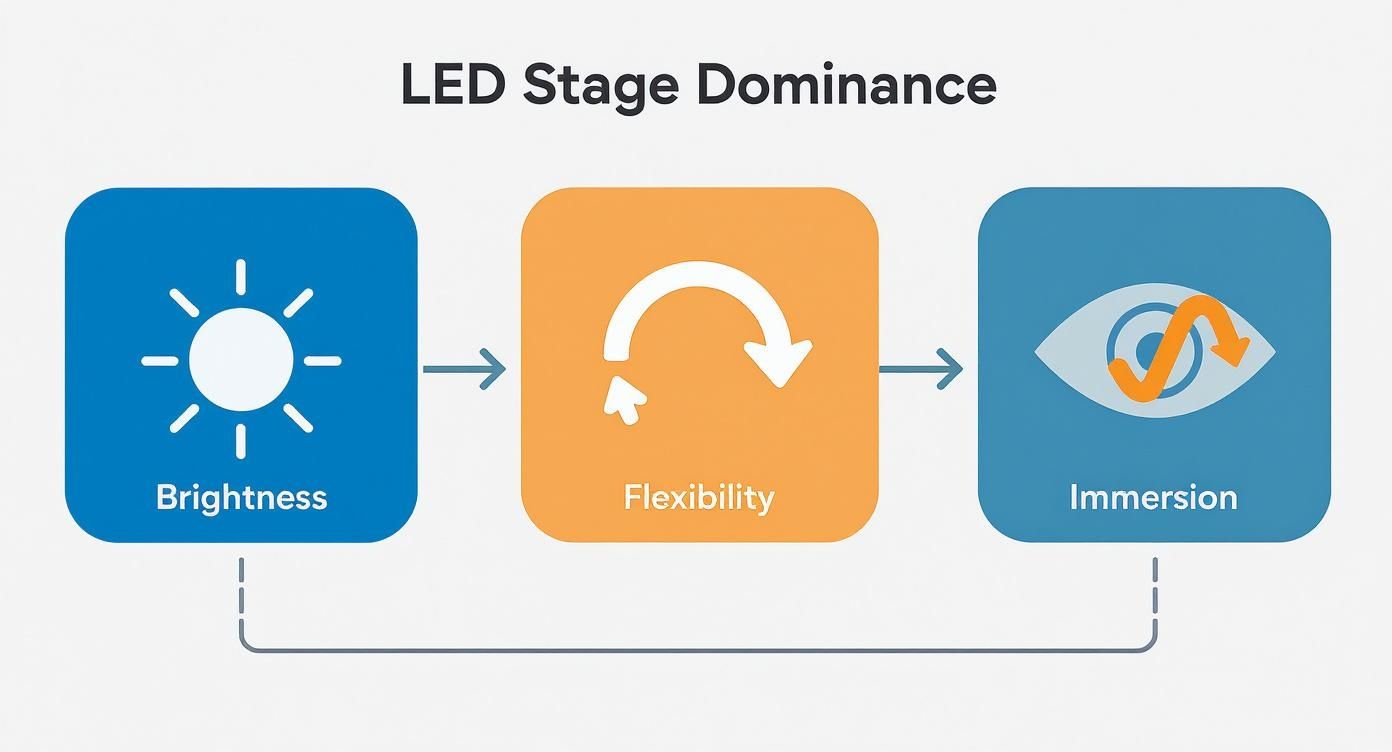
Each of those strengths is directly tied to a technical spec you can measure and choose when picking out your screen.
The spec you'll hear about most often is pixel pitch. This is simply the distance, measured in millimeters, from the center of one pixel to the center of the next. A smaller number means the pixels are packed closer together, creating a denser, higher-resolution image.
Imagine a piece of fabric. A low pixel pitch (like 2.9mm) is like tightly woven silk—it looks smooth and detailed even when you're standing right next to it. A higher pixel pitch (like 10mm) is more like a coarse burlap. It looks fantastic from a distance, but up close, you can see the individual threads.
Key Takeaway: The ideal pixel pitch all comes down to the minimum viewing distance. You don't want the folks in the front row to see individual dots, so matching the pitch to your audience's proximity is critical for both visual quality and cost-effectiveness.
The demand for high-res displays is what's pushing the industry forward. The global LED display market hit a massive USD 8.96 billion in 2023, and a huge chunk of that was driven by the small pixel pitch screens perfect for stage applications. Understanding how these screens fit into the broader landscape of diverse television display technologies helps put their unique advantages into context.
Below is a simple cheat sheet to help you connect pixel pitch to real-world scenarios.
This table provides a practical guide for selecting the right pixel pitch based on how close the audience will be to the screen.
| Pixel Pitch (mm) | Minimum Viewing Distance (Meters) | Ideal Use Case |
|---|---|---|
| 1.9mm | 2 meters | High-end corporate events, broadcast studios |
| 2.9mm | 3 meters | Theaters, houses of worship, indoor concerts |
| 3.9mm | 4 meters | Larger indoor stages, trade show booths |
| 5.9mm | 6 meters | Medium-sized outdoor events, large conference halls |
| 8mm – 10mm | 8-10 meters | Large outdoor concerts, festivals, stadium screens |
Choosing the right pitch is the first major step in ensuring your audience gets a seamless, high-quality visual experience.
Brightness, measured in nits, dictates how well your screen can compete with the light around it. To put it simply, one nit is about the same as the light from one candle per square meter. That might not sound like much, but modern LED screens pack a serious punch.
Picking the right brightness is a balancing act. You need enough power for your environment without paying a premium for nits you'll never actually use.
Two other specs that are absolutely critical are refresh rate and contrast ratio. These determine the smoothness of motion and the depth of your image. Get these wrong, and your show could suffer.
Refresh Rate (Hz): This number tells you how many times per second the screen redraws the entire image. A low refresh rate can cause visible flickering, which is especially noticeable when recorded by a camera. For any event that will be filmed or live-streamed, a high refresh rate of 3840Hz or more is non-negotiable. It’s what prevents those distracting scan lines and ensures a clean, flicker-free broadcast.
Contrast Ratio: This is the difference between the brightest white and the darkest black the screen can pump out. A high contrast ratio, like 5000:1, means you get deep, inky blacks and colors that really pop. It’s the secret ingredient that gives your visuals a rich, almost cinematic quality. Without it, blacks can look like a washed-out gray, robbing your content of its power and impact.
Picking the right LED screen for a stage goes way beyond just screen size and resolution. The physical design and how you plan to use it will completely change the cost, maintenance, and even the look of your final setup. Getting these core categories right from the start is the first step toward a smart, long-term investment.
The whole decision process boils down to one simple question: Is this screen a permanent part of the room, or is it a temporary setup for an event? Your answer immediately sends you down one of two very different paths, each with its own pros and cons.
Think about it like this: you have tour-grade speakers designed for the road, and you have a custom home theater system built into the walls. One is made for quick setup, teardown, and travel, while the other is meant to blend in and stay put. LED screens work the exact same way.
Rental LED screens are the roadies of the event world. They're built from the ground up for touring, festivals, and one-off corporate gigs.
Fixed Installation screens, on the other hand, are designed to be a permanent fixture. These are the screens you see in houses of worship, corporate lobbies, and retail stores. Here, the focus isn't on portability but on seamless looks and long-term reliability. The cabinets are often slimmer and lighter, prioritizing a clean, professional finish over road-ready toughness.
Your next big decision is all about the environment. An indoor screen will not last a day outside, and an outdoor screen is usually way more than you need for an indoor space. It really comes down to two things: brightness and weatherproofing.
Outdoor LED screens are built for a fight—specifically, a fight with the sun. To keep the image from looking washed out in direct sunlight, they need incredibly high brightness levels, often 5,000 nits or more. They also carry an IP rating (Ingress Protection), like IP65, which is an official stamp of approval that they can handle dust and rain.
Indoor LED screens live in a much friendlier, controlled-lighting world. They don't need blinding brightness, so they can focus on what really matters indoors: higher resolution (meaning a finer pixel pitch) and perfect color reproduction. Putting an outdoor screen inside would be painfully bright and a waste of money on rugged features you just don't need. For a great example of what high-resolution indoor screens can do, check out options like the FX2 2.5mm LED video wall product line.
That IP rating on an outdoor screen isn't just a suggestion; it's a guarantee. An IP65 rating means the screen is completely sealed against dust and can handle low-pressure water jets from any direction—crucial protection against a sudden downpour or even the venue's sprinkler system.
Finally, you need to think about how you're going to fix the screen when something goes wrong. This might feel like a minor detail when you're designing the stage, but it becomes a massive deal when a single module or power supply dies minutes before the show starts.
Opting for front serviceability can save you a surprising amount of space and makes repairs infinitely simpler. It’s pretty much the go-to choice for any permanent installation where every inch of stage depth is precious.
You've picked out the right type of LED screen. Now for the fun part: making it a living, breathing piece of your stage design. This is where the technical nuts and bolts meet pure creative vision, turning a pile of panels into a jaw-dropping backdrop that pulls the audience in.
Getting the details right—from the screen's physical size and shape to how it’s mounted and powered—is what separates a pro setup from an amateur one. The goal is to make the screen feel like it belongs there, not like a giant TV that was just dropped behind the band.
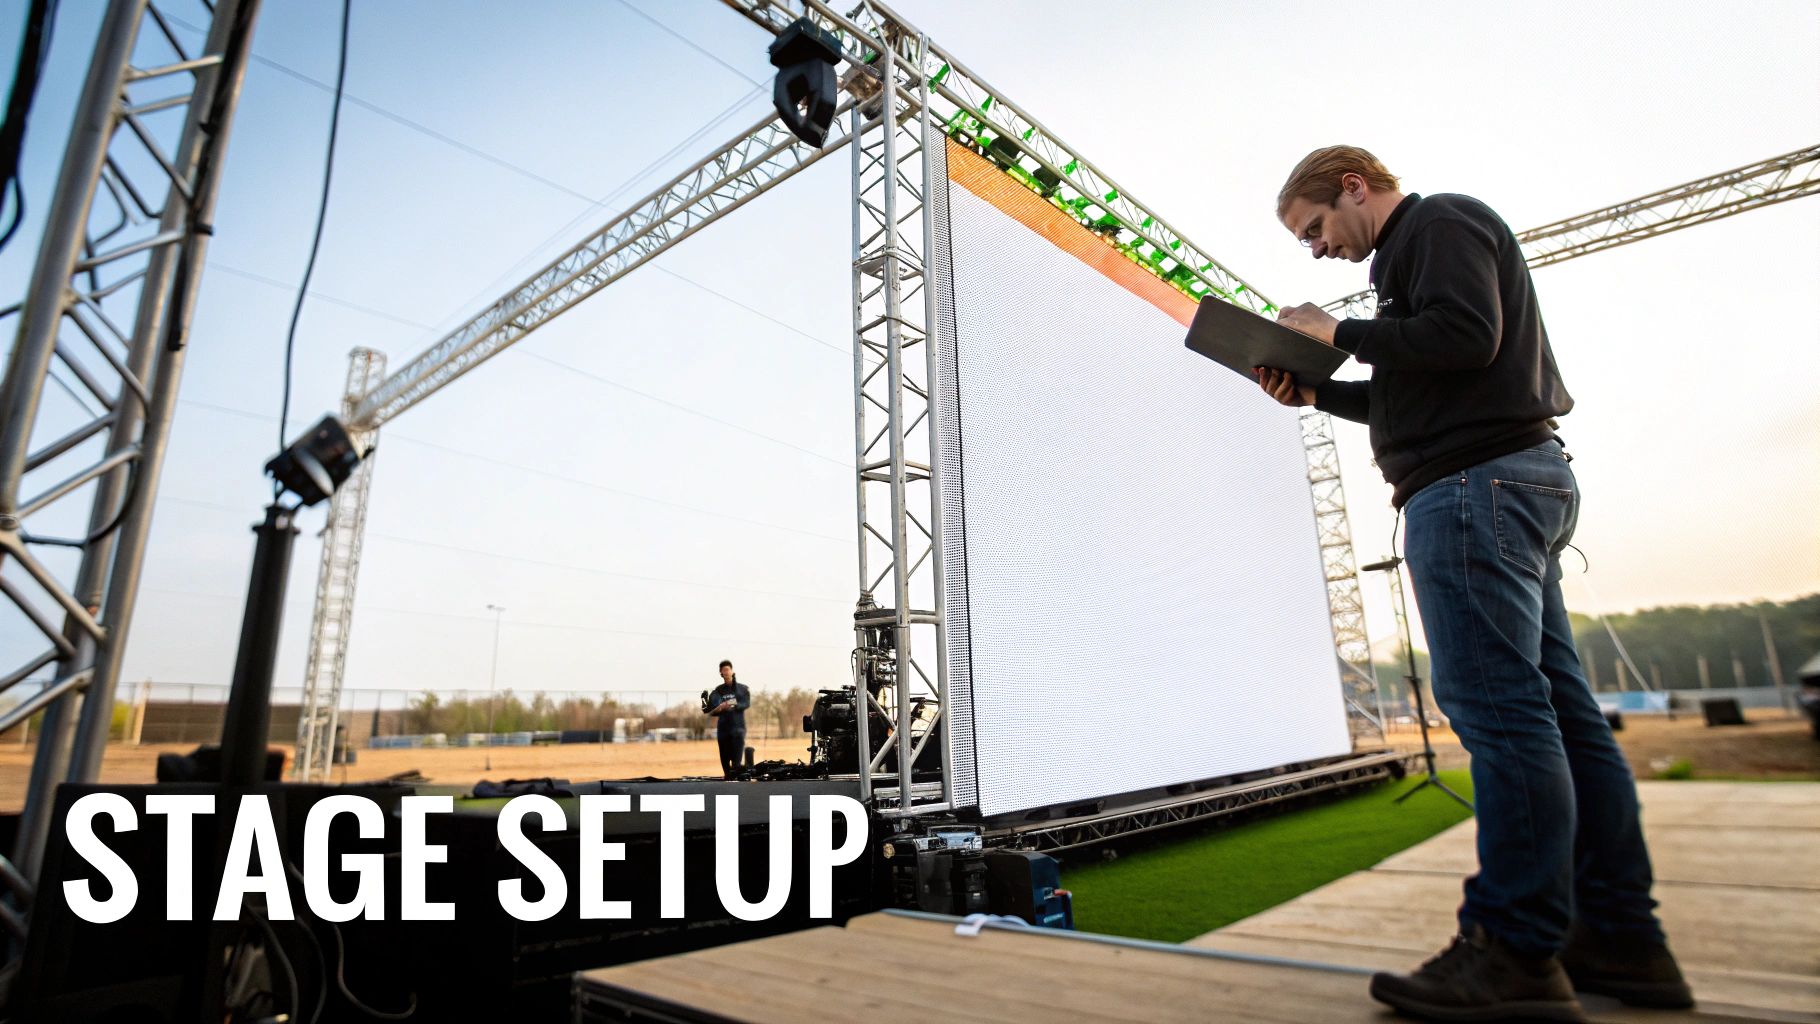
Deciding on your screen's size isn't just about "bigger is better." The dimensions have to work with the stage itself, creating a sense of balance. A screen that’s too big for the space will feel claustrophobic and overpowering. On the other hand, one that's too small will just look lost and underwhelming.
Just as important is the aspect ratio—the relationship between the screen’s width and its height. Sure, the standard 16:9 widescreen format is a safe bet, but it’s definitely not the only option. Custom ultra-wide or even vertical screen formats can create some truly unique looks, but just remember: you'll need content made specifically for those oddball dimensions.
Always plan your screen size and aspect ratio with your content in mind. A wild, non-standard screen shape looks incredible, but only if you have the visuals to back it up. Mismatched content will instantly shatter the illusion you're trying to create.
How you physically hang your led screens for stage is a massive decision, and it’s one where safety is absolutely non-negotiable. There are really two main ways to get a video wall up and running, each with its own pros and cons.
Ground Stacking: This is exactly what it sounds like. You build the screen from the ground up, using a special base and support structure. It’s usually faster and easier, especially for smaller screens or in venues where you can't hang anything from the ceiling. The downsides? You're limited in height, and the support structure eats up valuable stage space.
Flying (Rigging): If you want that massive, "floating in mid-air" look, you'll need to fly the screen. This involves hanging the panels from an overhead truss or certified rigging points in the ceiling. It’s a job for certified professionals and requires structural engineers to do the math and make sure the roof can handle the immense weight. Safety here is paramount.
No matter which way you go, talk to structural engineers and professional riggers. The combined weight of all those LED panels adds up fast, and a failure isn't just an inconvenience—it's catastrophic.
Behind every stunning image on that screen is a hidden web of power and data cables. For a show to run without a single glitch, that network has to be rock-solid. Even a tiny interruption can make a whole section of your screen go dark right in the middle of a performance.
Calculating Power Load
First, you need to know how much juice your screen will drink. Every LED panel has a maximum power draw specified by the manufacturer. You just multiply that number by how many panels you have, then add a safety buffer of 20-25% to be safe.
Creating a Reliable Signal Chain
The video signal has to get from your computer to the screen, and it follows a specific path. It starts at a sending card or processor, travels down data cables (like Cat6 or fiber optic), and hits a receiving card in the first LED panel. From there, the signal gets passed along—or "daisy-chained"—from one cabinet to the next.
For any decent-sized screen, you need to map this data path out logically. It helps prevent you from overloading a single processor output and makes it way easier to find the problem if a connection ever goes bad. For any show that matters, building in redundant signal paths is the professional standard.
If you’re looking for more ways to transform a worship space, you can find some fresh ideas for stage design.
A brilliant, high-resolution LED screen is a powerful tool, but it's only as good as the system feeding it content. Behind every jaw-dropping show is a robust control system—the brain that translates a creative idea from a laptop into a stunning, synchronized image across millions of pixels.
Getting this content workflow right is what separates a crisp, perfectly timed visual experience from a glitchy, amateur one.
Think of the control system as a dedicated translator. Your computer or media server speaks a common video language (like HDMI or DisplayPort), but the LED panels speak a completely different, highly specialized dialect. The control hardware is the expert in the middle, bridging that communication gap to ensure every single panel gets the right instructions at precisely the right time.
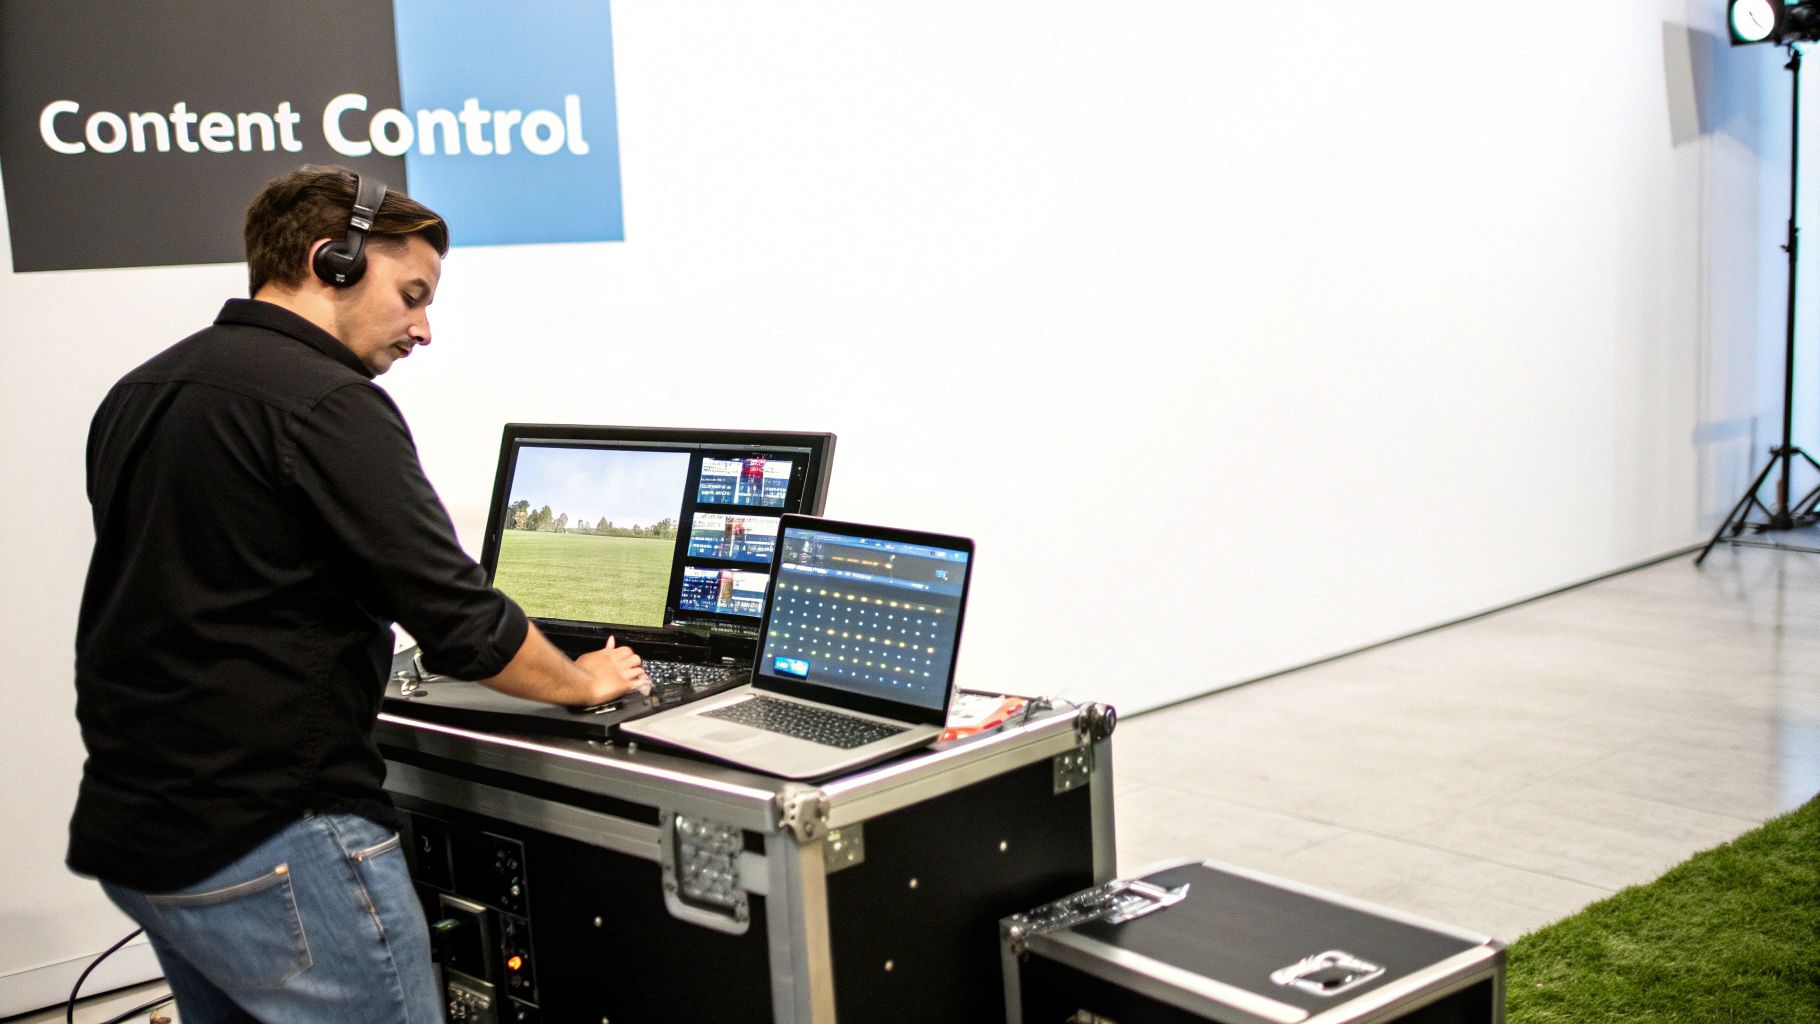
The core components of this system work together in a simple, logical chain. Understanding their individual jobs demystifies the whole process and is absolutely essential for troubleshooting if something goes wrong. A single point of failure can bring a show to a screeching halt, which is why pros always build redundancy into this critical path.
Here are the key players in the signal chain:
This elegant setup is what allows a massive screen, sometimes built from hundreds of individual panels, to operate as a single, seamless canvas.
While a laptop can play a simple video file just fine, professional productions lean heavily on specialized media servers. These are high-performance computers running sophisticated software that gives operators immense creative control over the visual presentation. They are the command center for any dynamic, live-operated show.
Two of the biggest names in this space are Resolume and Disguise. This kind of software lets a technician do so much more than just press "play." They can mix multiple video layers in real time, apply stunning effects, and perform complex "pixel mapping"—projecting visuals onto unconventional screen shapes or even 3D stage elements.
A media server transforms the video operator from a simple button-pusher into a visual performer. It provides the tools to improvise, react to the music, and trigger perfectly timed cues that elevate the entire audience experience from passive viewing to an interactive spectacle.
This level of real-time control is non-negotiable for concerts, theater productions, and high-stakes corporate events where the visuals must adapt on the fly.
A successful workflow starts long before the day of the show. It begins with creating your content at the native resolution of your LED screen. If your screen is a unique 3840 pixels wide by 1080 pixels tall, your video must be created at those exact dimensions.
Any mismatch forces the video processor to scale the image up or down, which can introduce softness, distortion, or ugly digital artifacts. For the sharpest, most pristine image possible, you have to maintain a 1:1 pixel map from the moment you export your video all the way to the final display.
This means every single pixel in your video file corresponds to exactly one physical pixel on the screen, delivering the ultimate visual clarity for your led screens for stage.
When you’re investing in LED screens for the stage, it’s easy to get fixated on the number on the quote. But that initial price tag? It's just the beginning of the story. To build a truly realistic budget, you need to think in terms of Total Cost of Ownership (TCO), which gives you the full financial picture over the screen's entire life.
It's a lot like buying a car. The sticker price is one thing, but the real cost includes fuel, insurance, and maintenance for years to come. For an LED wall, these ongoing costs are every bit as important, and ignoring them is a recipe for budget blowouts.
Whether you're renting a screen for a weekend festival or buying one for a permanent installation, several other factors contribute to the TCO. Planning for them from the get-go is the only way to avoid painful financial surprises down the road.
Here are the key expenses you absolutely need to budget for:
By planning for these elements, you're building a comprehensive budget that reflects the true cost. This same TCO mindset is crucial when exploring the overall cost of outdoor LED signs, as many of the same principles apply.
When you start to view LED screens as a long-term asset, their real value comes into focus—especially when it comes to energy use and sustainability. Modern LED technology is incredibly efficient, and that translates directly into lower operating costs and a greener footprint for your events.
A huge part of justifying the investment in professional LED screens is their long-term financial and environmental performance. Their efficiency isn't just a nice-to-have feature; it's a core part of their value, slashing utility bills and aligning with modern sustainability goals.
This efficiency delivers a major financial advantage. Industry studies show that today's LED screens consume 40-60% less power than older display technologies. On top of that, they boast an operational life of over 50,000 hours, which dramatically cuts down the total cost of ownership over many years.
When you look at the entire lifecycle, from manufacturing to disposal, LED tech is simply a more sustainable choice than old-school projection setups. You can dive deeper into these findings on greener event production. This powerful combo of lower power bills and a much longer lifespan makes LED screens a financially sound and responsible choice for any modern stage.
Got questions? You're not alone. When you're diving into the world of LED screens for stage productions, a few key questions always pop up. Getting these sorted out early saves a ton of headaches and potential budget blowouts down the line.
Think of this as your backstage cheat sheet. We'll cut through the noise and give you straight answers on everything from power needs to content creation—the critical details every production manager, designer, and tech needs nailed down before the curtain goes up.
This is the big one, and for good reason. The honest answer is: it depends. A screen's thirst for power is tied directly to its size, pixel pitch, and how bright you run it. The trick is to plan for the maximum potential draw, not the average.
Every LED panel has a max wattage listed on its spec sheet. Just multiply that number by how many panels you're using to get a baseline. For instance, if you have a wall made of 50 panels and each one can pull up to 200 watts, you're looking at a 10 kW requirement.
Pro Tip: Whatever your calculation is, add another 20-25% power on top of it. This headroom is your safety net. When the screen flashes bright, fast-moving graphics, it pulls way more juice than a static, dark scene. That extra buffer keeps you from tripping a breaker mid-show.
Absolutely, but there’s a catch. You can throw a standard 16:9 HD or 4K video on the screen, but for a truly stunning look, you need content made specifically for the screen's native resolution. If your design is a custom, super-wide 3840×1080 banner, your video files need to be created at those exact dimensions.
When you feed it mismatched content, the video processor has to stretch or shrink the image on the fly. This almost always leads to a soft, pixelated, or distorted look. For that razor-sharp, professional image everyone wants, a perfect 1:1 pixel map—where your content resolution exactly matches your screen resolution—is the undisputed gold standard.
At Smart LED Inc., we provide factory-direct LED video walls engineered for flawless performance on any stage. Explore our indoor solutions and get expert guidance for your next project at https://smartledinc.com.

Trying to pin down the cost of a digital sign can feel a bit like asking, "How much does a car cost?" The answer is

Outdoor LED sign lighting is so much more than just a way to light up your business name. Think of it as a dynamic, living

Before you even think about speakers or screens, the success of your home theater hinges on a solid plan. It’s not just about picking a
"*" indicates required fields