Building Home Theater: A Guide to building home theater Setup
Building a home theater is about creating an immersive escape, not just buying a big screen and some loud speakers. A truly great build starts

At its core, crimping is about creating a rock-solid mechanical bond without a single drop of solder. You're stripping the wire, sliding it into a terminal, and then using a special tool to essentially cold-weld the connector's barrel around the conductor. It sounds simple, but the secret to a connection that lasts is all in the technique—and using the right tool for the job.

Before you even think about the crimp itself, you need to have the right gear on hand. I’ve seen countless connection failures over the years, and most of them trace back to a poor start. A successful crimp is 90% preparation and only 10% execution, and that prep work begins with your toolkit. Think of it as a pre-flight check for your wiring—getting this right is what separates a professional job from a future failure point.
The tools you choose can absolutely make or break your project. Sure, those basic plier-style crimpers you find in bargain bins might get you out of a one-off, non-critical jam. But for anything that matters, they just don't cut it. They have a nasty habit of simply crushing connectors instead of properly forming them, creating a weak spot just waiting to fail.
For any serious electrical work, a ratcheting crimper is the undisputed gold standard. Its internal mechanism is the key; it guarantees a full, uniform compression cycle every single time. The tool simply won’t release until the perfect pressure has been applied. This completely removes the guesswork and prevents under-crimping, which is hands-down the most common cause of loose, unreliable connections.
Just think about these real-world scenarios:
Your crimper is only half the battle. You also have to perfectly match your connector to the wire’s American Wire Gauge (AWG). The AWG number tells you the wire's diameter; it's a bit counterintuitive, but a smaller number means a thicker wire.
Thankfully, most common terminals are color-coded to make this easy:
Using a big yellow connector on a thin 22-gauge wire is a recipe for failure. It doesn't matter how perfectly you crimp it; the wire is just swimming in the barrel and will pull right out. This basic mismatch is the number one mistake I see beginners make.
Even on a massive industrial scale, the need for precise, reliable crimps is booming. The market for benchtop wire crimping machines, valued at a staggering USD 0.15 billion in 2024, is only expected to grow. It’s a clear sign of just how critical proper crimping technology has become across every sector.
Before we move on, let's nail down exactly what you'll need.
Here’s a quick-reference table of the absolute must-haves for getting started with professional-grade crimping.
| Item | Primary Function | Pro Tip |
|---|---|---|
| Ratcheting Crimper | Ensures a full, consistent compression cycle for every crimp. | Look for one with interchangeable dies. This allows you to handle different connector types (insulated, non-insulated, ferrules) with one tool. |
| Wire Strippers | Removes insulation cleanly without nicking the wire conductors. | An automatic, self-adjusting stripper is a game-changer. It saves a ton of time and prevents accidental wire damage. |
| Wire Cutters | Provides a clean, flush cut to prepare the wire end. | Use high-quality flush cutters. They prevent frayed ends, which can make it difficult to insert the wire into the connector barrel. |
| Connectors | The terminals that will be crimped onto the wire. | Always buy quality, name-brand connectors. Cheaper ones often have thin metal that can crack or deform improperly during crimping. |
| Heat Gun | Used to shrink tubing over the connection for a weather-tight seal. | A variable temperature heat gun gives you better control and helps avoid scorching the wire insulation or the tubing itself. |
Having these core items on hand will set you up for success and make the entire process smoother and far more reliable.
A solid crimp starts long before you ever pick up the crimper. The final connection will only be as good as the wire you prepare, and honestly, rushing this stage is one of the most common mistakes I see. This isn't just about cutting and stripping—it's about setting the stage for a connection that will hold up against vibration, pull, and time.
The first step is getting a clean, precise cut. You need a pair of sharp, dedicated wire cutters for this, not the beat-up edge of a multi-tool. A clean cut prevents the copper strands from fraying, which not only makes it a pain to insert into the connector but can also lead to stray strands causing nasty short circuits down the line.
Once your wire is cut to length, it’s time to strip the insulation. The goal here is simple but absolutely critical: remove the plastic sleeve without nicking or cutting any of the delicate copper strands underneath. Even a single damaged strand creates a weak point. It compromises both the wire's ability to carry current and its physical strength. This is where a quality wire stripper really earns its keep.
The length of the strip is just as important. You need to expose just enough bare wire to sit fully inside the connector’s metal barrel, but not so much that you have bare wire peeking out after the crimp is done.
As a rule of thumb, I always strip the wire to match the length of the metal barrel inside the connector. Just hold the wire up against the terminal to gauge the perfect length before you strip. It takes two seconds and saves a ton of guesswork.
The image below shows exactly what you're aiming for.
Notice how the tool is positioned to cut only the insulation. The copper conductor is left completely untouched and ready for a solid connection.
So, should you twist the strands before inserting them into the connector? The answer is a classic: it depends.
For most of the standard insulated terminals we use—like butt, ring, or spade connectors—a gentle twist is a good idea. It gathers any stray strands into a tight, neat bundle, making it much easier to slide into the connector barrel without any "wild hairs" getting caught or splaying out.
However, for certain types of connections, especially ferrules that get crimped into terminal blocks, twisting is a big no-no. Those crimpers are specifically designed to compress loose, straight strands into a solid, square shape for maximum surface contact. Twisting actually works against them. Always check the recommendation for the specific connector you're using.
Ultimately, getting the wire prep right is a non-negotiable part of the job. Taking your time here is what ensures the final crimp is strong, safe, and built to last. For a wide selection of connectors and other essential components, you can explore the various electrical wiring accessories available for your needs.
Alright, your wire is prepped and ready to go. Now for the main event—the actual crimp. This is the moment where theory meets practice, turning a few simple components into a rock-solid electrical connection. When you do this right, you’re creating a bond that is literally stronger than the wire itself.
First things first, let's get the connector seated in your crimping tool. Take a close look at the jaws of your ratcheting crimper. You’ll see little nests, each one marked with a specific color or AWG size. This is no accident. You need to match the connector's color to the corresponding nest. A blue butt connector for a 14 AWG wire? It goes into the blue die. It's that simple.
Give the handles a gentle squeeze, just enough for the tool to grip the connector. Don’t go all the way. This little trick holds the connector steady, freeing up both of your hands to focus on inserting the wire perfectly.
Now, carefully slide the stripped end of your wire into the connector's barrel. You should be able to feel the copper strands hit the very back. Take a second for a quick visual check—this is critical. The wire's insulation should butt up snugly against the back of the metal barrel. You want zero exposed copper peeking out between the insulation and the connector.
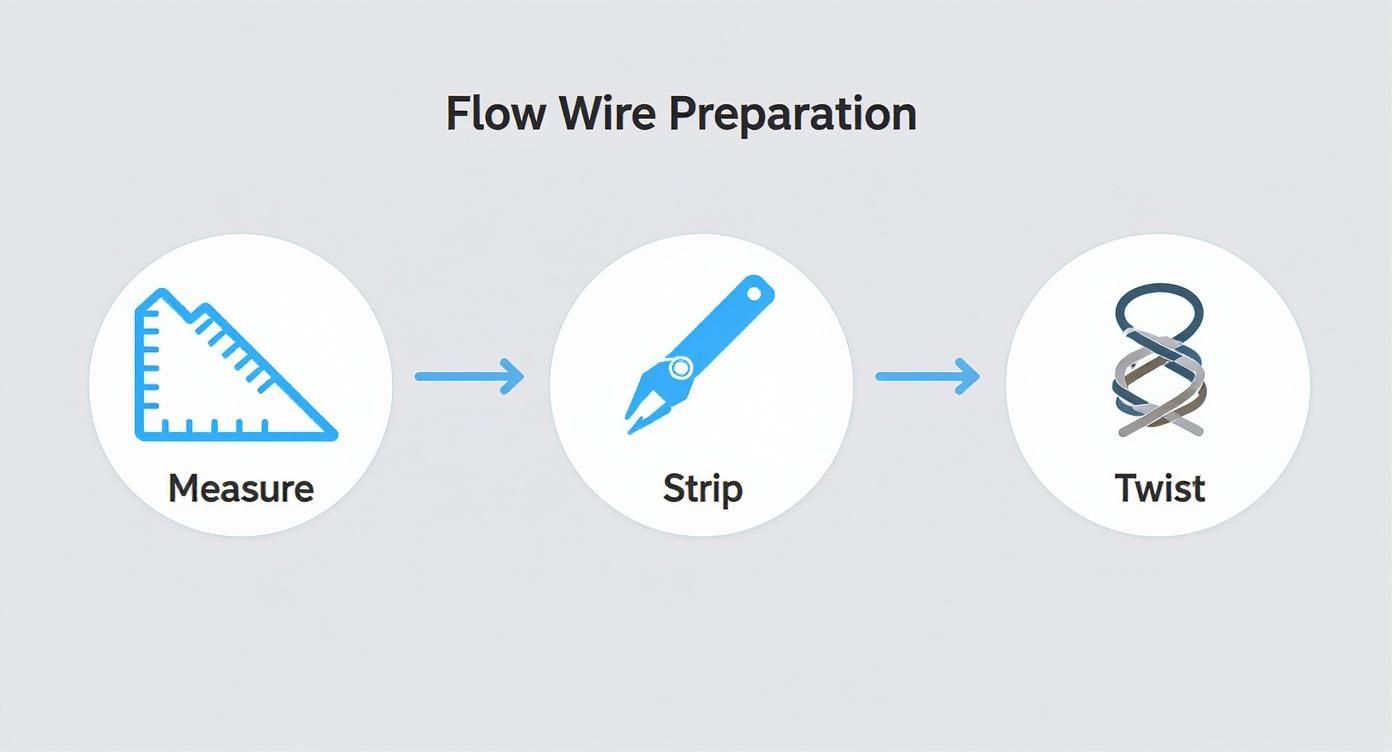
This simple flow is the key to getting the wire ready before you even think about squeezing the tool.

Each step builds on the last, setting you up for a flawless crimp.
With the wire in position, hold everything steady with one hand and give the crimper’s handles a firm, confident squeeze. This is where a quality ratcheting tool proves its worth. You'll feel a series of clicks as the mechanism engages, applying perfectly uniform pressure.
The best part of this whole process is that final, satisfying ‘click’ when the tool hits its full compression. The ratchet mechanism releases, and the handles pop open on their own. That isn't just a sound; it's your confirmation that you’ve just created a perfect, gas-tight cold weld. The tool doesn't let you guess—it tells you the job is done right.
Let's walk through a couple of common examples to see how this plays out in the real world.
A good crimp looks compact and uniform. A bad one—usually the result of using pliers—looks crushed, uneven, and just plain wrong. It’s a dead giveaway for a future failure point. These principles are fundamental for lasting electrical wiring and maintenance solutions, where a single bad connection can cause major headaches down the road. Knowing how to create a solid mechanical bond is a non-negotiable skill.
That satisfying click of a ratcheting crimper feels like the finish line, but your job isn’t quite done yet. A professional connection is a verified one, every single time. Skipping this final check is like building a house and never checking if the foundation is level—it just invites failure down the road.
The first and most immediate check is the tug test. It’s brutally simple but incredibly effective.
Get a firm grip on the wire with one hand and the connector with the other, then give it a confident pull. Don't be shy; you want to simulate the real-world stress this connection will face from vibration and movement. It should feel completely solid, with zero wiggle between the wire and the connector. If it moves even slightly or, worse, pulls out, cut it off and start fresh with a new terminal. No second chances.
Beyond the physical test, your eyes are your best inspection tool. A perfect crimp leaves behind very specific evidence that tells you the connection is mechanically sound and electrically reliable. Knowing what to look for is a key part of mastering this skill.
A quality crimp should have:
This visual confirmation is non-negotiable. A crimp that looks crushed, punctured, or uneven has likely compromised the wire strands within, creating a weak point that will fail under vibration or electrical load.
To make this second nature, here’s a simple rundown of what to look for versus what to avoid. A quick glance using this checklist can save you from a major headache later.
| Check Point | What to Look For (Good Crimp) | What to Avoid (Bad Crimp) |
|---|---|---|
| Physical Tug Test | The wire and connector are completely solid; no movement or separation. | Any wiggle, looseness, or the wire pulling out of the terminal. |
| Die Imprint | A deep, clear, and uniform impression from the crimping tool. | A faint, crooked, or incomplete imprint. |
| Wire Strands | All copper strands are neatly contained inside the terminal barrel. | Stray strands ("whiskers") sticking out, which can cause shorts. |
| Insulation Crimp | A secure grip on the wire's insulation with a slight "bell mouth" flare for strain relief. | Insulation that is punctured, cracked, or not securely held by the terminal. |
| Terminal Body | The connector's barrel is indented but not cracked, split, or overly deformed. | Cracks, splits, or a crushed appearance that indicates excessive force was used, potentially damaging the wire inside. |
Running through these checkpoints after every crimp builds the kind of muscle memory that separates amateur work from professional, reliable installations.
For any connection exposed to the elements—think automotive, marine, or outdoor LED sign installations—sealing your work is absolutely mandatory. This is where heat shrink tubing becomes your best friend. If you used a heat-shrink connector, this step is already built right in.
Using a heat gun (never a lighter or a torch), apply gentle, even heat to the tubing. I always start in the middle of the connector and work my way out to the ends. You’ll see the tubing shrink down tightly, conforming perfectly to the shape of the wire and terminal.
The pro tip? Keep the heat moving until you see a little bit of clear adhesive seep out from the ends. That’s your confirmation of a perfect, moisture-proof seal. This final touch provides insulation, adds crucial strain relief, and will dramatically extend the life of your work.
Of course, a mechanically sound connection also needs to be electrically sound. A quick and easy way to be 100% certain you have a solid electrical path is by testing continuity with a multimeter, which confirms there are no hidden breaks in your new connection.

Even with the best tools and intentions, things can go sideways. A single bad crimp can become the weakest link in your entire electrical system, leading to flickering lights or intermittent failures that are an absolute nightmare to track down later.
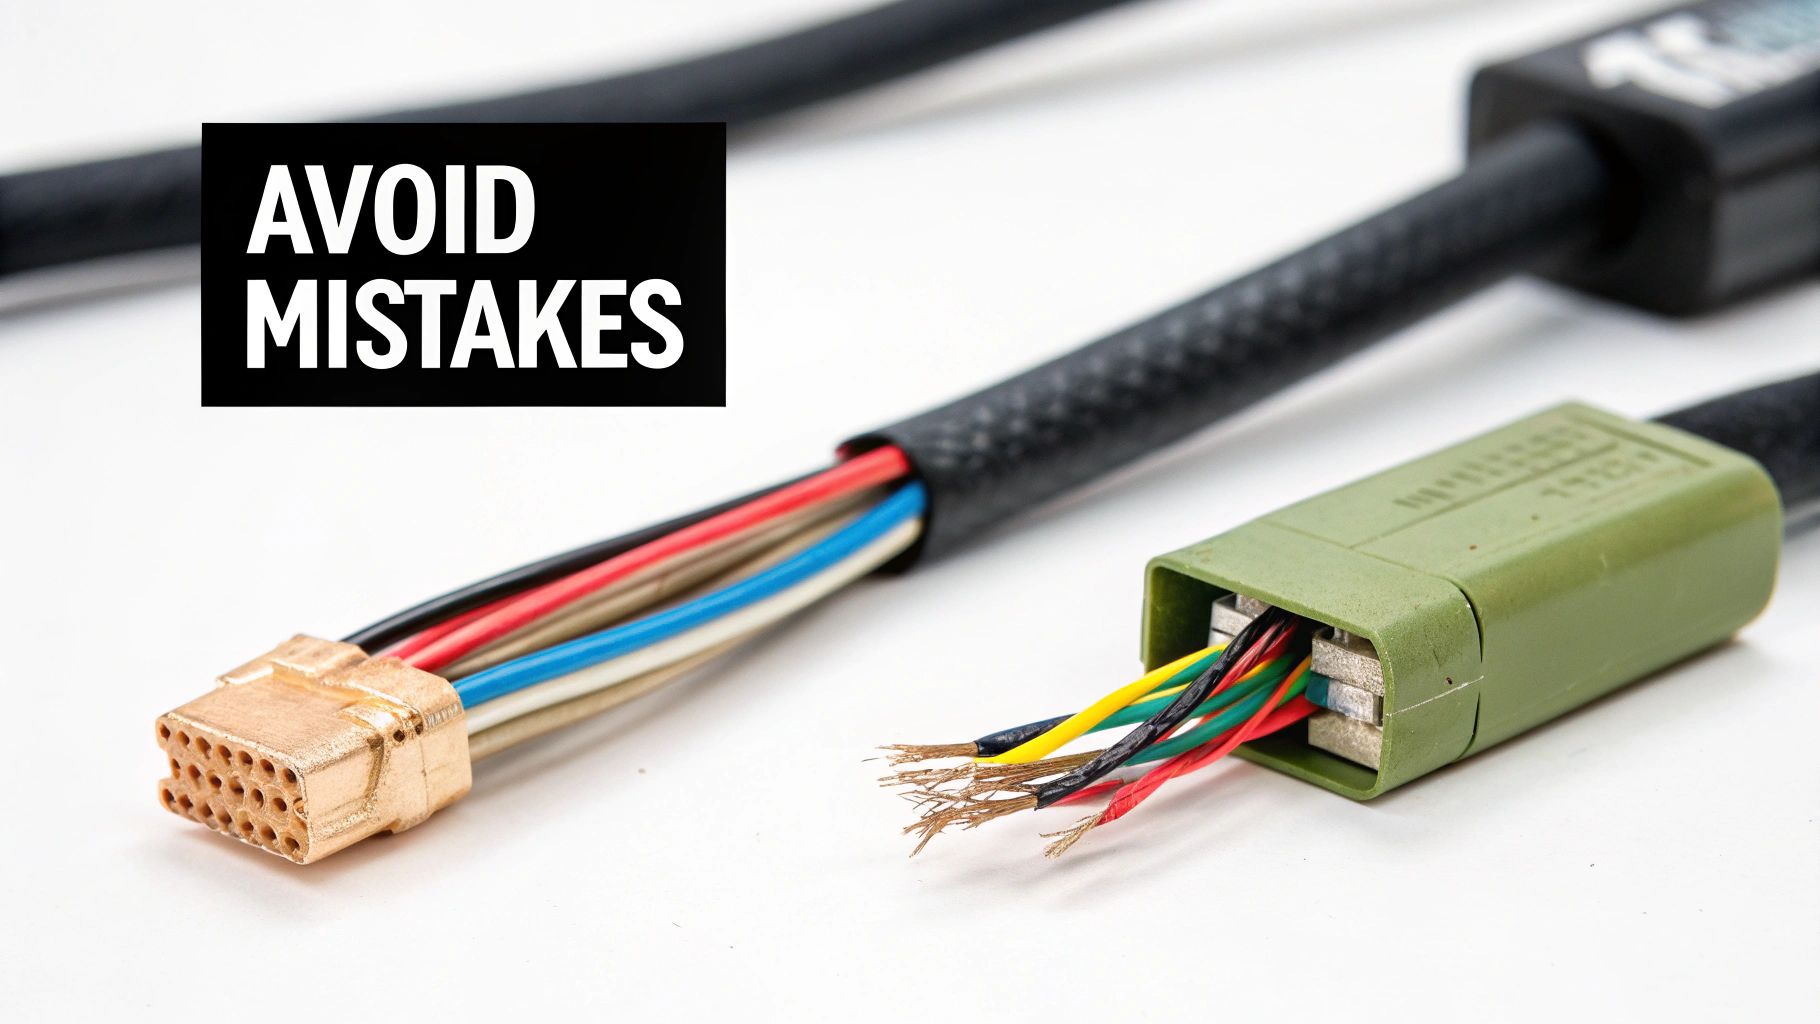
The good news? Most crimping errors are completely avoidable once you know what to look for. Learning to spot these common pitfalls is just as important as mastering the proper technique. It turns a frustrating mistake into a quick lesson, making you better with every connection you make.
This is, without a doubt, the most common and dangerous mistake out there. An under-crimped connection happens when you don't apply enough force, creating a loose mechanical bond. The wire might feel snug at first, but vibration will eventually work it loose, causing an open circuit.
On the flip side, you have the guys who apply way too much pressure. This usually happens when using the wrong tool—like a pair of standard pliers—or the incorrect die size for the connector. Over-crimping doesn't make the connection stronger; it actually crushes the terminal and can severely damage or sever the delicate wire strands inside.
That damage creates a high-resistance point that can overheat or simply break from fatigue. You’ve just created a brittle failure point right where you need maximum strength.
A proper crimp forms the metal around the wire in a perfect cold weld. Over-crimping, however, extrudes the metal and work-hardens it, making it fragile. The connection is compromised from the moment you make it.
Every die in your crimper is precision-engineered for a specific wire gauge and connector type. Using the wrong one is a recipe for disaster, and it happens more often than you'd think. Trying to crimp a red 22 AWG connector in the blue 16 AWG die will result in a hopelessly loose connection that will fail the tug test immediately.
Conversely, trying to cram a beefy yellow 10 AWG connector into the blue die will over-crimp and likely destroy both the terminal and the wire.
Even after you've got the basics down, a few practical questions always pop up in the middle of a job. These are the real-world head-scratchers that can make or break a project, and getting them sorted is how you build real confidence in your work. We’ve pulled together some of the most common ones we hear to help you out.
One of the biggest debates? Whether or not to add solder. It feels like it should make the connection stronger, but it’s almost always a mistake.
In nearly every situation, the answer is a hard no. A well-executed crimp is a thing of beauty—it creates a gas-tight cold weld that’s actually mechanically stronger than a soldered joint. This is especially true in anything that vibrates, like a vehicle or heavy machinery.
When you add solder, it wicks up the wire strands past the connector itself. This creates a brittle, stiff section of wire that’s just waiting to snap right at the edge of the connection. A quality crimp, sealed up with good heat shrink tubing for strain relief, is far more rugged and dependable all on its own.
Another common sticking point is figuring out which connector type to grab. Each one has its place.
The choice really comes down to the environment. For a fast, clean connection inside an equipment enclosure, an insulated connector is perfect. But for a connection that’s going to be exposed to moisture or serious heat, a non-insulated terminal properly sealed with high-grade heat shrink offers way better protection.
We hear this one a lot, especially when someone’s in a pinch. While you can certainly crush a connector onto a wire with a pair of pliers, you are not crimping it. Pliers create a sloppy, weak connection that will fail the tug test every time and introduce high electrical resistance.
A real crimping tool is engineered with specific dies that form the connector's barrel around the wire in a very precise shape. That’s what creates the all-important cold weld. Using pliers is just about the fastest way to guarantee you’ll be troubleshooting a failed connection down the road.
If you have more questions about electrical work, signage, or anything in between, you can always find more answers on our comprehensive FAQ page for additional insights.
At Smart LED Inc., we know that a world-class visual display is built on a foundation of flawless connections. Whether you’re installing a massive outdoor sign or a detailed indoor video wall, every single detail counts. Explore our lineup of high-performance LED solutions at https://smartledinc.com and see what a difference professional quality makes.

Building a home theater is about creating an immersive escape, not just buying a big screen and some loud speakers. A truly great build starts

Imagine your storefront doing more than just showing off products. What if it could become your hardest-working salesperson, pulling in customers 24/7? That’s exactly what

Let's cut right to it. When you're asking about the cost of a Jumbotron, the answer is a pretty wide spectrum—you could be looking at
"*" indicates required fields