Church Announcement Boards: A Practical Guide for church announcement boards
In a world buzzing with digital noise, how do you make sure your church’s most important messages actually get heard? It's a real challenge. You

Before you even think about grabbing that bottle of all-purpose cleaner from under the sink, let’s be clear: cleaning an LED screen isn’t just wiping away dust—it’s about preserving your investment. Using the wrong stuff can cause permanent scratches, weird discoloration, and even fry the electronics. This is why a little know-how goes a long way.

The surfaces of modern LED displays—whether it's your home theater TV or a massive outdoor billboard—are way more delicate than they look. Many are treated with special anti-glare or color-enhancing coatings that typical cleaners can completely ruin.
I heard a story recently about a media company that voided the warranty on a brand-new video wall. Their mistake? They used a standard ammonia-based glass cleaner, which permanently hazed the protective layer. It’s a painful and expensive lesson to learn.
Your TV screen is not a window pane, and treating it like one is a costly mistake.
Those multi-purpose sprays we all have are packed with chemicals that are way too aggressive for sensitive electronics. Here’s a quick rundown of the usual suspects and the damage they can do:
The goal here is simple: remove the gunk without changing the screen’s surface one bit. Any method that uses harsh chemicals or abrasive materials fails this fundamental test, risking long-term damage for a short-term clean.
To help you get it right, here’s a quick guide to what you should—and shouldn't—have in your cleaning kit.
| Safe Supplies | Supplies to Avoid at All Costs |
|---|---|
| High-quality microfiber cloths | Paper towels or facial tissues |
| Distilled or deionized water | Tap water (minerals can leave residue) |
| Pre-moistened screen wipes (alcohol-free) | Ammonia-based glass cleaners |
| Compressed air duster | All-purpose household cleaners |
| A 50/50 mix of distilled water & white vinegar | Harsh solvents or abrasive powders |
| Isopropyl alcohol (70% or less, highly diluted) | Dish soap or other detergents |
Stick with the "safe" column, and you'll keep your screen looking brand new. Stray into the "avoid" column, and you're gambling with your display's life.
The need for proper screen care is huge. The global screen cleaner market was valued at an eye-watering USD 3.5 billion in 2023 and is on track to hit USD 5.8 billion by 2032. This isn’t just about a few enthusiasts; it reflects how many delicate, high-tech screens are now part of our daily lives. You can dig into more screen cleaner market trends over on dataintelo.com.
For businesses, the stakes are even higher. A smudged or dusty display just looks unprofessional and can kill a brand's image. For retailers and advertisers, clear and vibrant LED signs for businesses are absolutely critical for grabbing attention and making sales. A dirty screen doesn't just look bad—it fails to deliver the pop you paid for.
Understanding these risks is the first step. Now, let’s get into a routine that will protect your screen's picture quality and longevity.
Having the right tools is half the battle. When it comes to cleaning LED screens safely, this isn't about buying some expensive, pre-packaged kit. It’s about knowing which basic supplies actually work and why.
Putting together this simple arsenal—much like what a pro AV tech would have in their bag—is the secret to getting a perfect, streak-free clean every time without putting your screen at risk.
The absolute cornerstone of any screen cleaning setup is a good microfiber cloth. You might be tempted to grab a paper towel, a dish rag, or an old t-shirt, but don't. They seem soft, but they're loaded with wood fibers and abrasive threads that can create thousands of tiny micro-scratches on your screen's surface and its anti-glare coating. Over time, that dulls the picture.
A quality microfiber cloth is different. It’s made of ultra-fine synthetic fibers specifically designed to grab and hold onto dust, oil, and grime without scratching or leaving linty fuzzballs behind.
Most of the time, a quick wipe with a dry microfiber cloth is all you need to handle everyday dust. But for those inevitable fingerprints, smudges, or other stubborn spots, you'll need a little moisture. The trick is using the right kind of liquid.
Never, ever use tap water. It’s full of minerals like calcium and magnesium. While they’re fine to drink, they will leave a streaky, white film on your screen once the water evaporates.
The best solution is one you can make yourself, and it’s incredibly simple:
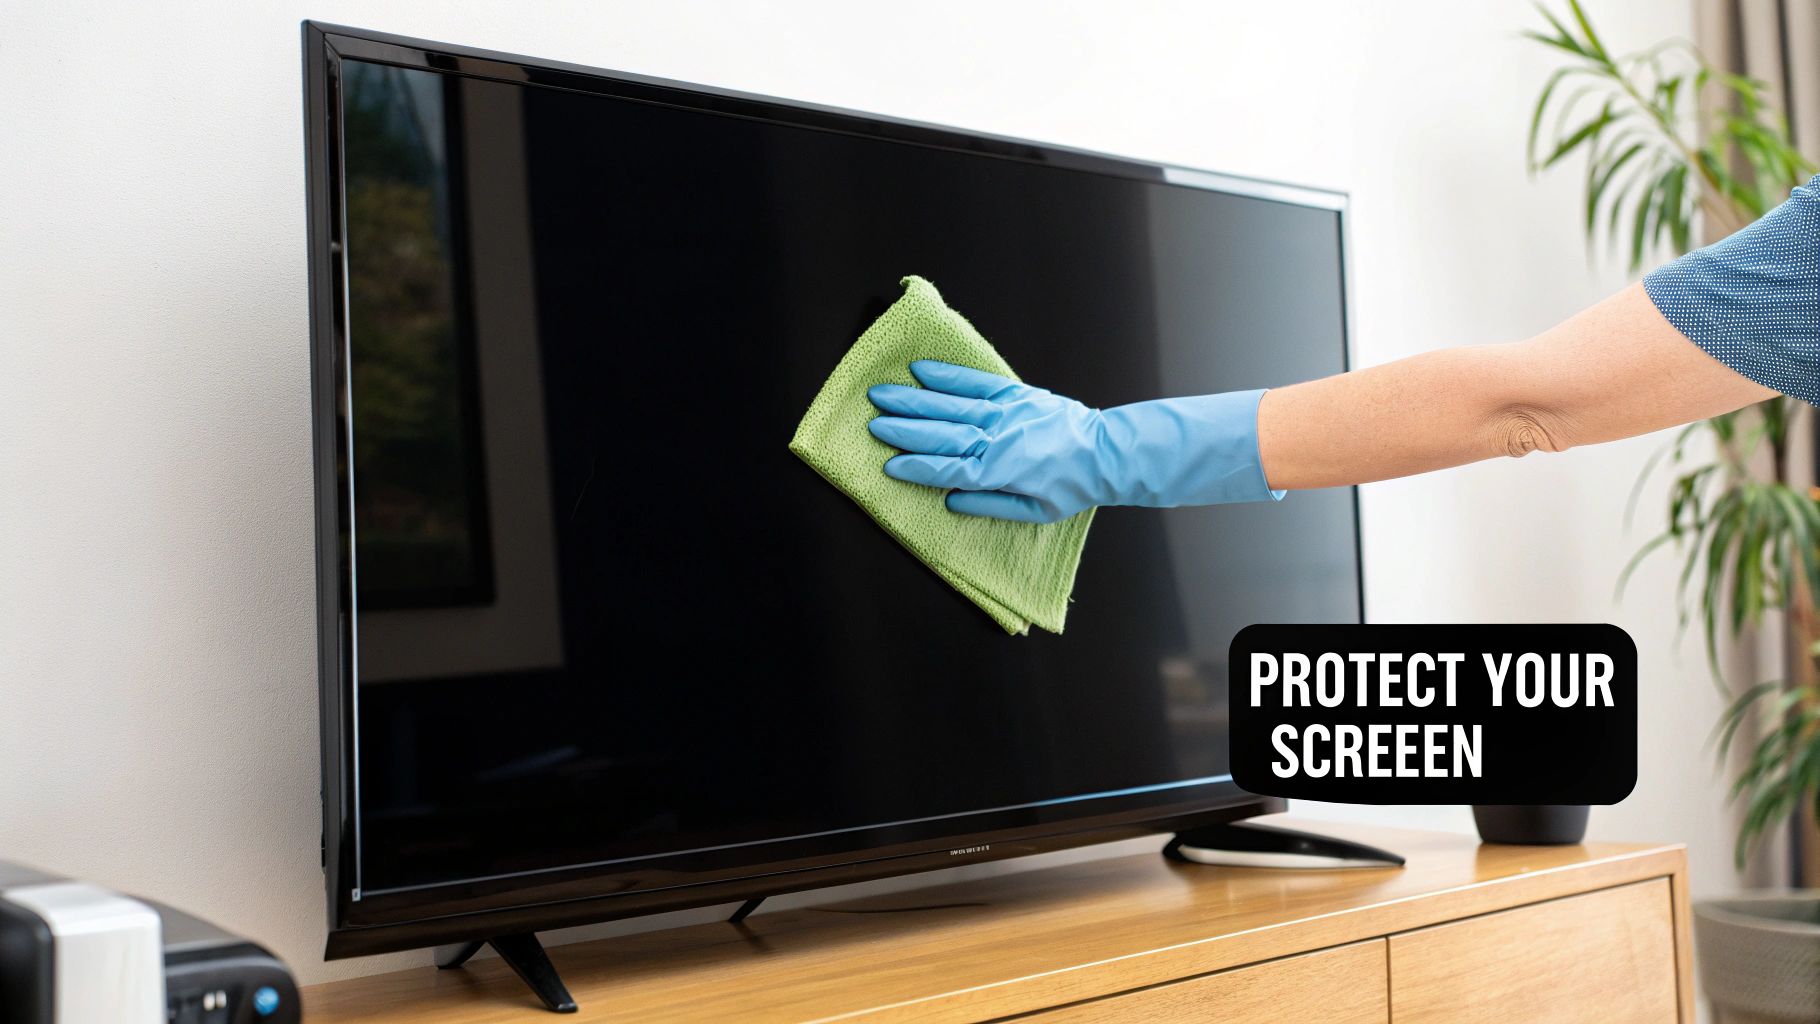
Critical Tip: Never spray any liquid directly onto the screen. This is non-negotiable. Always lightly dampen your microfiber cloth first—just enough to be moist, not soaked. This stops any liquid from dripping down and sneaking behind the bezel, where it can fry the internal electronics for good.
While a cloth and a simple cleaning solution will handle most home theater setups, bigger and more complex displays—like commercial video walls or outdoor signs—need a few extra tools to deal with dust and debris. These help you get into all the nooks and crannies without causing damage. If you want a peek at what goes into these larger professional systems, you can explore various LED signs and accessories to see how they're built.
With these few items on hand—a microfiber cloth, distilled water, a bit of IPA, a soft brush, and some canned air—you're fully equipped. This is the toolkit that lets you handle anything from a quick dusting to a deep clean, making sure your LED screens look incredible for years to come.
When I first started caring for indoor LED screens—whether a cozy home theater TV or a sprawling video wall in a lobby—I realized cleaning isn’t just wiping away dust. It’s a choreography of safety, precision, and patience. Miss one move, and you risk streaks, scratches, or worse: damaged electronics.
Begin every cleaning session by powering down the device and unplugging it. This simple rule isn’t negotiable. It removes any chance of electrical shorts and stops heat from evaporating your cleaning solution too fast, which could leave ugly residue.
Once it’s unplugged, let the screen rest until it reaches room temperature. That pause keeps your efforts streak-free and shields delicate components from sudden temperature changes.
Before introducing moisture, you need to clear away loose dust. Skipping this step is like rubbing sandpaper over your display—micro-scratches follow.
• Grab a clean, dry microfiber cloth.
• Use feather-light, overlapping strokes from top to bottom or gentle circles.
• Avoid pressing down—let the microfiber do the work.
On larger screens or ones with beefy bezels, I like using a soft-bristle brush (the same kind you’d trust on camera lenses) to sweep dust from corners and vents. It’s quick, effective, and primes the surface for a flawless wet clean.
Even after that gentle dry pass, oily fingerprints can linger. That’s when a lightly dampened cloth enters the picture—control is everything here.

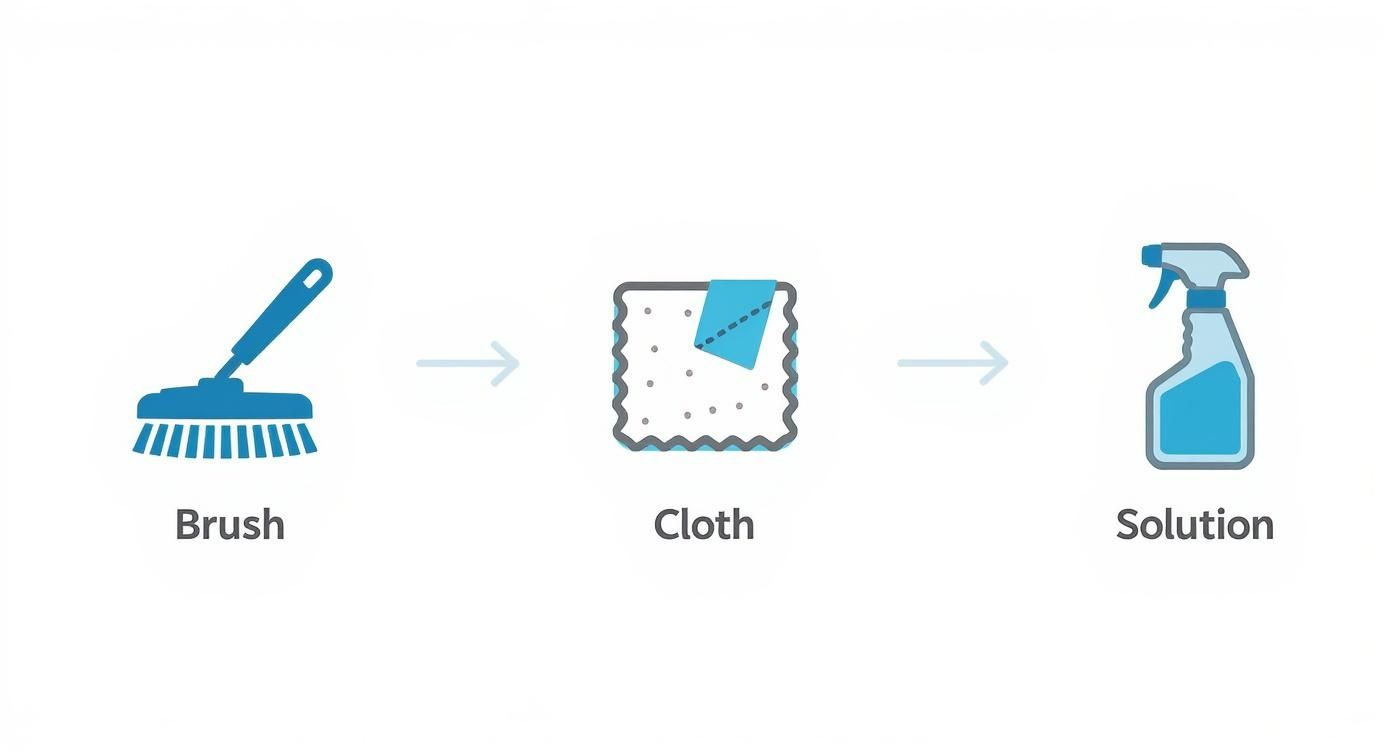
You’ll notice the recommended flow: start with a brush, move to microfiber dusting, then finish with spot cleaning. It’s the safest order to tackle every type of grime.
For your solution, keep it straightforward:
If you’d rather pick up a ready-made cleaner, know that liquid-based screen solutions command 35.2% of the market for their gentle, streak-free performance on high-definition displays. For a deeper dive into those industry trends, check out insights from Future Market Insights.
Crucial Application Rule: Never spray liquid directly onto the screen. Always moisten your cloth until it’s damp—not dripping. A soaking cloth can let moisture sneak behind the bezel and fry internal circuits.
When you’re ready, tackle smudges with small, soft circles using the damp side of your cloth. Then immediately flip to the dry side and buff away any moisture. This two-step wipe keeps streaks at bay.
Once everything looks clean and feels dry, step back and examine the display from multiple angles. Corners and edges tend to hide stubborn spots or droplets.
Satisfied? Plug the screen back in and power it on. You’ve just extended its lifespan and safeguarded picture quality—using the same attention to detail you’d find in a professional broadcast studio.
When you move from the controlled environment of an indoor screen to the wild outdoors, the game completely changes. An outdoor LED display is in a constant battle with the elements—everything from grimy traffic pollution and acidic bird droppings to mineral-heavy rainwater. Cleaning these massive screens requires a more heavy-duty, yet equally careful, approach.
The absolute first thing you need to know is the screen's Ingress Protection (IP) rating. This two-digit number, like IP65, is your guide. It tells you exactly how sealed the display is against solids (like dust) and liquids (like water). A higher number means a tougher seal, and that dictates just how you can safely wash it down.
Trying to clean an outdoor sign without knowing its IP rating is a gamble. You're essentially flying blind and could easily cause catastrophic water damage to the internal electronics.
With large outdoor displays, especially those hanging over a busy road or mounted high on a building, safety isn't just a suggestion—it's everything. Before a single drop of water touches that screen, the power must be shut off at the breaker. I'm not talking about just hitting the off button on a remote. This is a non-negotiable step to prevent electrocution and protect the expensive hardware inside.
Power off? Good. Next up is a thorough visual inspection. You're on the hunt for any signs of damage to the casing, seals, or the individual LED modules themselves. Even a tiny crack can act as an open door for water, turning a simple cleaning job into a repair nightmare.
Here’s a quick mental checklist to run through before you start:
That caked-on grime you see on outdoor screens isn’t going to budge with a simple dry dusting. You'll need a bit more muscle, but that doesn't mean grabbing a high-pressure washer. That's one of the worst things you can do—it can force water past the seals and destroy the delicate diodes in an instant.
Instead, the professional method uses a low-pressure water source, like a regular garden hose with a gentle spray nozzle. Pair that with a soft-bristle brush on an extension pole. This setup gives you the reach and scrubbing power you need to gently lift away grime from a safe distance, all without applying any damaging force. It's a similar principle for other large outdoor installations; for instance, this detailed solar panel cleaning guide also stresses specialized care due to constant environmental exposure.
The goal here is to lift the dirt off, not blast it off. It’s like washing your car—you use gentle soap and a soft mitt, not a sandblaster. The same idea applies here, just on a much bigger and more sensitive canvas.
For businesses that rely on these displays, understanding proper maintenance is key. You can check out different types of high-performance digital outdoor signage to see how modern screens are engineered to withstand the elements, which makes the whole cleaning process safer and more straightforward.
Once you've rinsed the screen, the job isn't done. The drying process is just as critical. Many pros will use a large, soft squeegee to get rid of the excess water, then follow up with a final wipe-down using big microfiber cloths attached to extension poles.
Before you even think about flipping that breaker back on, a final, meticulous inspection is a must. Check every seam, vent, and connection point to make sure it's bone dry. Any moisture left behind can cause a short circuit when the power comes back on, resulting in dead pixels or even a completely fried module.
This final, patient check is what separates a successful cleaning from a costly disaster. It protects your investment and ensures your display is ready to shine brightly.

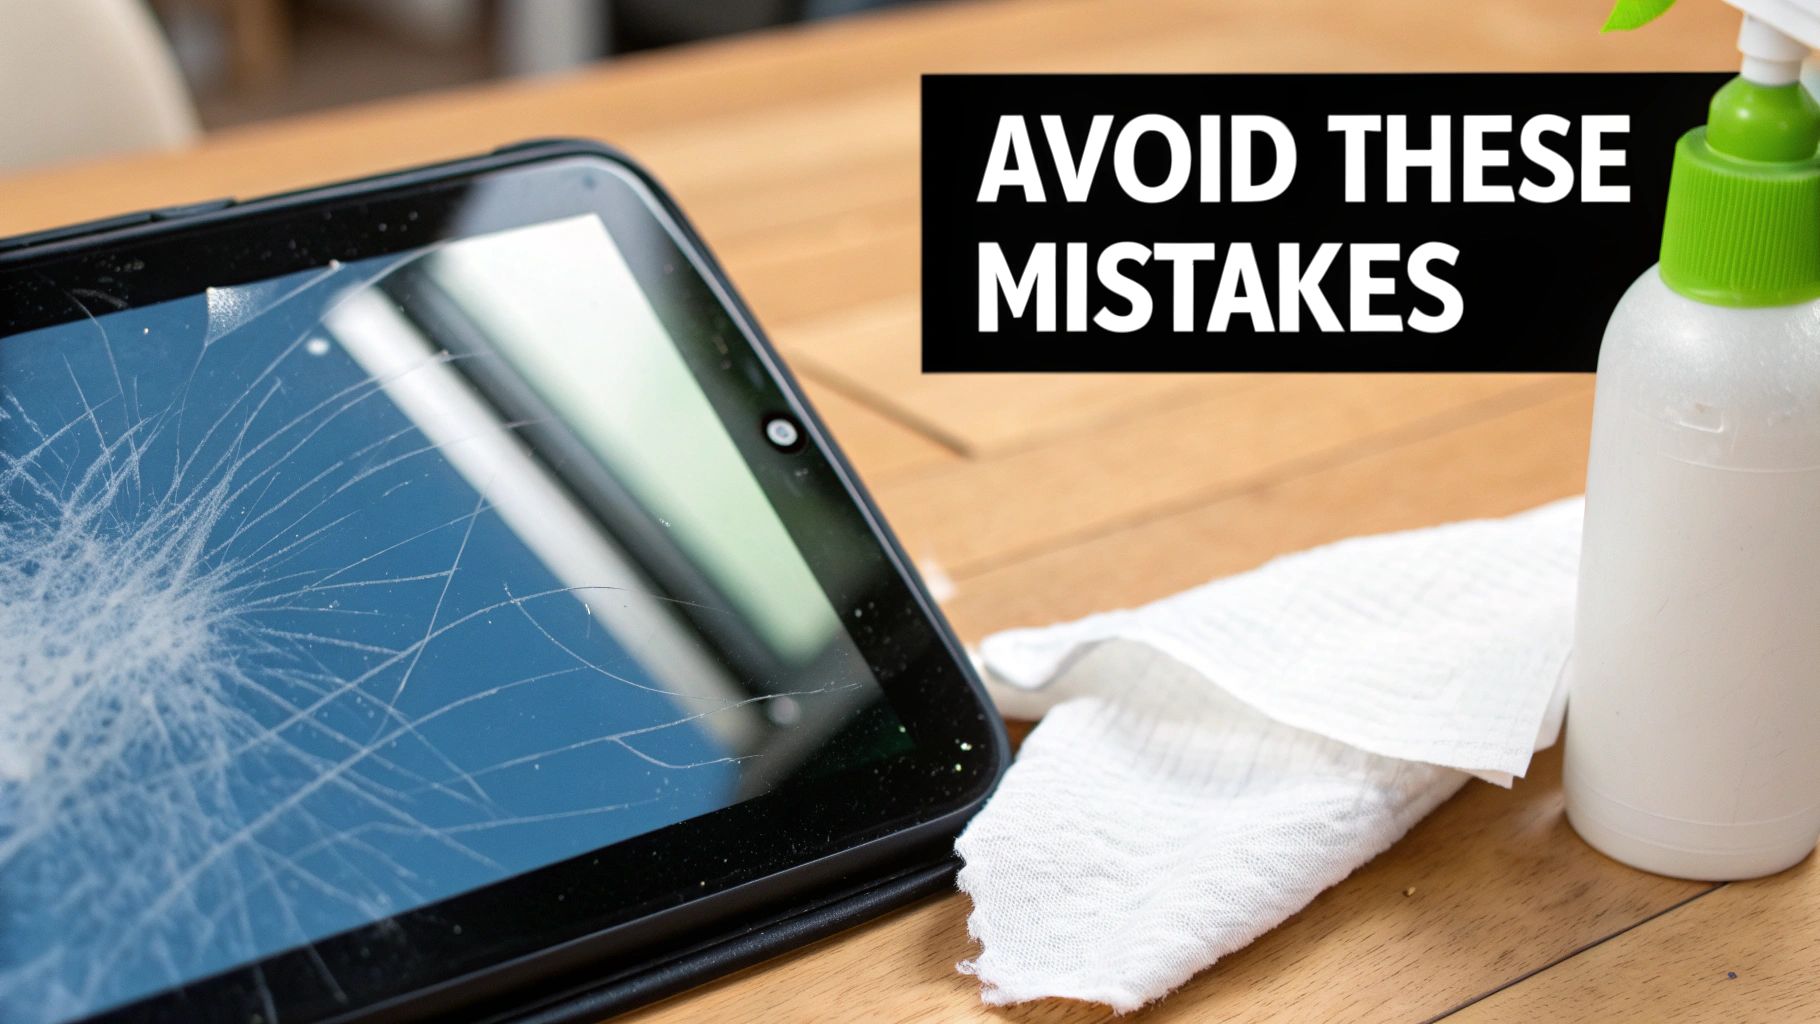
It’s happened to the best of us. You set out with good intentions to give your screen a quick clean, and suddenly, you’re looking at permanent damage. When it comes to LED displays, knowing what not to do is just as critical as knowing the right way to clean them.
A few common, well-meaning mistakes can turn a simple wipe-down into a costly service call. Let’s walk through the missteps I see most often, so you can keep your display looking brand new.
It’s an almost instinctual mistake. The screen looks like glass, so you reach for the Windex. This is, without a doubt, one of the most destructive things you can do to an LED screen. Why? Almost all household window cleaners are packed with ammonia or harsh alcohols.
These chemicals are fantastic for dissolving grime on your kitchen window, but on an LED screen, they’re a nightmare. They immediately start to attack and strip away the delicate anti-glare and anti-reflective coatings. The result is a permanently cloudy, hazy, or streaked screen that no amount of proper cleaning can ever bring back.
Grabbing a paper towel or a tissue seems completely harmless, right? Unfortunately, it’s a recipe for slow-motion damage. Paper towels are made from wood pulp, and their fibers, while soft to our touch, are surprisingly abrasive at a microscopic level.
Every time you wipe your screen with one, you're creating thousands of tiny scratches. You won’t see them after the first or second cleaning, but over time, they accumulate. These micro-scratches dull the screen’s finish and scatter light, which ultimately reduces contrast and makes the image look less sharp.
A pristine screen surface is perfectly uniform. When you introduce micro-scratches with abrasive materials like paper towels, you permanently alter that surface. It degrades the image quality in a way that can never be reversed. Always, always stick to high-quality microfiber.
Another common mistake is trying to scrub away a stubborn smudge with a bit of elbow grease. An LED display isn't a solid piece of glass; it’s a complex sandwich of very sensitive layers, including the pixel structure itself. Pushing too hard can physically crush these layers, leading to clusters of dead or stuck pixels.
Picture a single, bright green pixel stuck in the middle of a dark movie scene—it’s incredibly distracting and often impossible to fix without replacing the entire panel. The rule here is simple: let the cloth and the cleaning solution do the work, not brute force.
This one’s a classic error. Cleaning a screen while it’s on or still warm from being used is a huge no-no. Heat causes any liquid, even pure distilled water, to evaporate almost instantly. This rapid evaporation doesn’t give you time to properly wipe away the moisture, leaving behind stubborn streaks and mineral deposits.
Even worse, moisture on a warm, powered-on device dramatically increases the risk of liquid seeping behind the bezel and causing a short circuit. The procedure should always be the same: power down the display, unplug it, and let it cool completely to room temperature before you even think about cleaning it.
To put the risks into perspective, here’s a quick breakdown of what common household cleaners can do to your expensive display. It’s a stark reminder of why using the right materials is non-negotiable.
| Cleaning Agent | Risk to Screen Surface | Risk to Anti-Glare Coating | Risk to Internal Electronics |
|---|---|---|---|
| Window Cleaner (Ammonia-Based) | Low (can cause streaking) | High (Strips coating, causes cloudiness) | High (Risk of short circuit if sprayed directly) |
| Isopropyl Alcohol (undiluted) | Medium (Can dry out and craze plastic) | High (Aggressively dissolves coating) | High (Can damage seals and cause shorts) |
| All-Purpose Cleaners | Medium-High (Abrasives cause scratches) | High (Chemicals degrade and discolor coating) | High (Corrosive agents and moisture risk) |
| Paper Towels/Tissues | High (Abrasive fibers cause micro-scratches) | Medium (Scratches degrade coating over time) | Low |
| Tap Water | Medium (Mineral deposits leave spots/streaks) | Low (Can leave residue on coating) | High (Conductive minerals risk short circuits) |
As you can see, the convenience of grabbing a nearby cleaner is never worth the potential for permanent, expensive damage. Sticking to approved methods is the only way to ensure your screen’s longevity.
The growing demand for proper screen care isn't just anecdotal; it's a huge market. North America currently holds the largest share of the global screen cleaner market, commanding 24.75% of the industry’s revenue. This growth highlights a universal need for safe cleaning practices. You can discover more insights about the global screen cleaner market trends on cognitivemarketresearch.com. Avoiding these common pitfalls is the best way to protect your investment.
This section tackles the most common questions around cleaning LED screens with clear, actionable advice.
Your cleaning cadence should follow your screen’s environment and how often it runs. In a cozy living room, a weekly dust-off is usually enough. But if your display lives by a highway or under a steady stream of exhaust, plan for two quick wipe-downs each week.
Screens running 24/7 in control rooms deserve a soft swipe every day, plus a deeper clean over the weekend. Kitchens and smoking lounges tend to coat panels in grease faster than you expect, so slip in a midweek refresh to keep buildup at bay.
Skipping that regular dusting might not sting today, but hardened particles will scratch the surface when you eventually tackle them. A little routine effort now saves a lot of headache—and cost—later.
Pre-moistened wipes lure you with speed, but most hot off the phone market contain ammonia or over 30% alcohol, which can eat away anti-reflective coatings on larger LED displays. Always read the label—anything listing ammonia or high-strength alcohol should stay on the shelf.
Seal the pack tightly after each use to avoid dried-out pads or bacterial growth. Before you tackle the whole screen, test a wipe on an inconspicuous corner to catch any unwanted reaction.
A single drop of solvent can travel behind the bezel and cripple your display electronics.
For better control, mist a microfiber cloth with distilled water and a splash of isopropyl alcohol. That way, you decide exactly how much moisture hits the panel—no drips, no drama.
Matte finishes do wonders against glare but spotlight fingerprints like a crime scene. Direct sprays risk uneven wet spots that glaze the surface, so start by gently blotting with a dry cloth. Then switch to a lightly damp one and wipe in feather-light circles.
Kitchen towels often carry cooking oils or fabric softeners that smear instead of lift. In arid climates, a tiny extra mist keeps the cloth from drying mid-clean.
Reserve one cloth solely for fingerprints to prevent cross-contamination.
This simple routine stops permanent shiny spots and keeps your contrast crisp.
Outdoor LED arrays face rainwater loaded with minerals. Those white, stubborn deposits bond on the protective lens and refuse to budge. A mild vinegar blend softens the mineral scale without harming gaskets or seals.
| Solution Mix | Application | Outcome |
|---|---|---|
| 50% distilled water 50% white vinegar |
Soak cloth, hold on spots for 60 seconds | Dissolves minerals |
| Distilled water rinse | Wipe to clear residue | Leaves no film |
| Microfiber dry | Buff edges, inspect | Prevents new spots |
Before you apply vinegar, use a soft brush to whisk away loose grit around panel joins. Always spot-test on a small corner, and never pour liquid directly onto the screen—let the cloth do the work. If your display sits under an awning or shade bar, a monthly cleanup usually keeps mineral spray under control.
Consistency is the secret to a long-lasting display. Jot each cleaning session into a simple log or set phone reminders so nothing slips through the cracks. While you’re at it, glance over the screen to spot flicker, discoloration, or dead pixels before they become major headaches.
Think of every wipe-down as a routine check-up for your LED. A small effort now means sharper images and a longer life down the road.
Visit Smart LED Inc. for advanced displays and ongoing cleaning support.

In a world buzzing with digital noise, how do you make sure your church’s most important messages actually get heard? It's a real challenge. You

Trying to pin down the cost of a digital sign can feel a bit like asking, "How much does a car cost?" The answer is

Outdoor LED sign lighting is so much more than just a way to light up your business name. Think of it as a dynamic, living
"*" indicates required fields