Church Announcement Boards: A Practical Guide for church announcement boards
In a world buzzing with digital noise, how do you make sure your church’s most important messages actually get heard? It's a real challenge. You

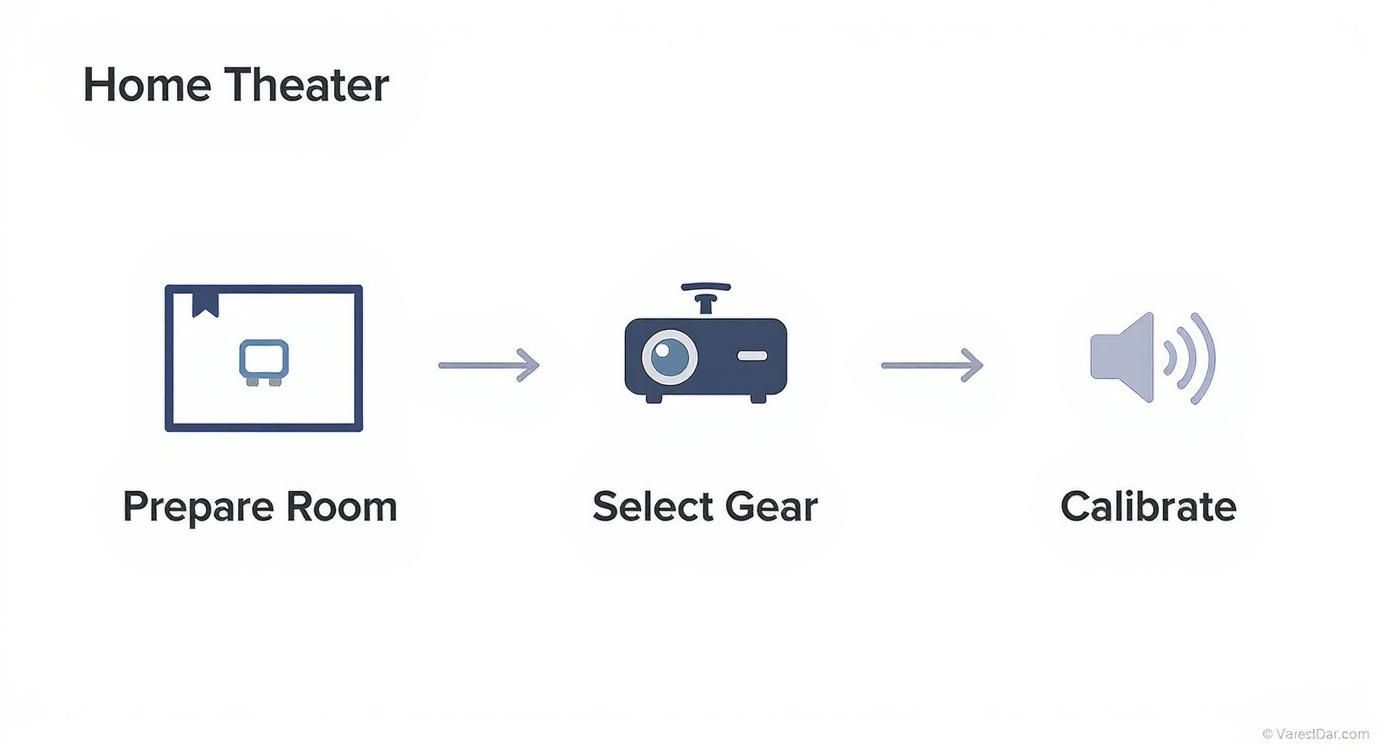
Building a home theater really comes down to three big stages: prepping your room, picking the right gear, and then dialing everything in so it all works together perfectly. The secret to success is thinking of it as one complete system, where every single piece affects the final experience.
Creating a home theater that truly pulls you in is about so much more than just a big screen and some loud speakers. It's about designing a dedicated space where every little detail—from the room’s acoustics to the glow of the accent lights—works in concert to deliver a genuine, goosebumps-on-your-arm cinematic feeling.
Think of this guide as your personal roadmap, whether you're converting a spare bedroom or building a dedicated room from the studs up. We'll skip the overly technical jargon and focus on what actually matters.
It’s no surprise that high-quality home entertainment is a hot ticket item. The global home theater market was valued at USD 12.36 billion in 2024 and is on track to hit USD 19.98 billion by 2030. People are hungry for better experiences at home, and a dedicated theater is a fantastic upgrade.
This graphic breaks down the simple, three-phase process for building a home theater from the ground up.

As you can see, a successful build is a logical progression. Each step builds on the last, making sure you don't miss any critical details along the way.
I’ve seen this mistake so many times: someone buys all the expensive equipment before they even think about the room itself. A killer projector is completely wasted in a room flooded with daylight, just like a set of premium speakers will sound like a muddy mess in a room with terrible acoustics. Always, always plan the space first.
Before we dive deep, let's get a quick lay of the land. Every great home theater is built from a core set of components, each with a specific job to do.
| Component | Its Role in Your Setup | Key Decision Factor |
|---|---|---|
| Display | Your visual centerpiece—the screen or projector that brings movies to life. | Size of the room, ambient light levels, and desired image quality (4K, 8K). |
| AV Receiver | The "brain" of the operation. It powers the speakers and switches between sources. | Number of channels you need (e.g., 5.1, 7.2.4) and power output. |
| Speakers | The heart of your sound system, creating the immersive audio landscape. | Room size, your audio preferences (e.g., music vs. movies), and budget. |
| Subwoofer | The source of all that deep, rumbling bass you feel during action scenes. | Room volume and desired low-frequency impact. A bigger room needs more power. |
| Source Devices | Blu-ray players, streaming devices, or game consoles that provide the content. | The type of media you'll be watching most often (physical vs. streaming). |
This table isn't exhaustive, of course, but it covers the non-negotiables. Getting these five core elements right is the key to creating a system that delivers a truly seamless and captivating experience.
For those of you eyeing the latest display technologies, it pays to understand the nitty-gritty. If you're considering a high-end LED video wall, our guide on how to buy an LED sign offers fantastic insights into screen tech that translates directly to the jaw-dropping displays used in modern home cinemas.

Before a single piece of gear comes out of the box, we have to talk about the room itself. Honestly, this foundational step is what separates a pretty good setup from a truly great one, and it directly impacts every dollar you spend on equipment. The two biggest enemies of a cinematic experience are uncontrolled light and unwanted sound reflections.
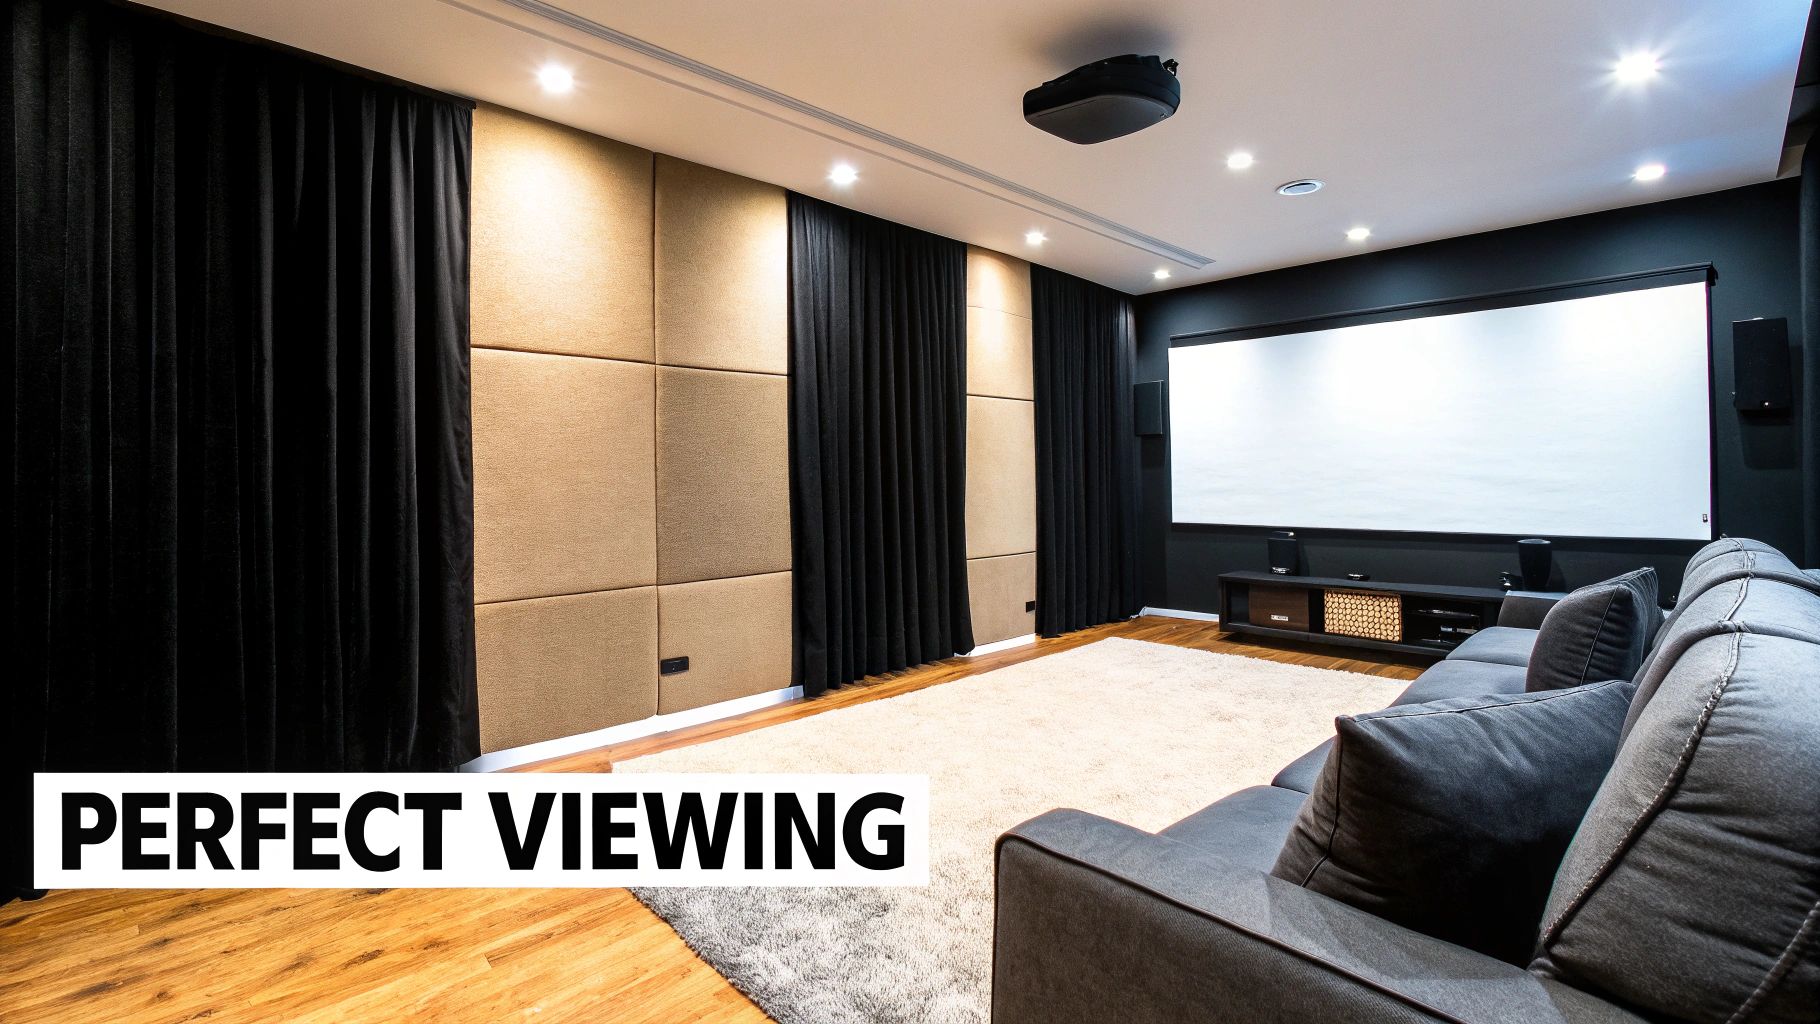
Your first mission, should you choose to accept it, is to conquer ambient light. Even a tiny sliver of sunlight can wash out a projector's image or create a distracting glare on an OLED screen. This is where you declare war on windows and reflective surfaces to create a true viewing sanctuary.
The goal here is simple: achieve as close to total darkness as possible when the system is on. This is what allows your display to produce the deepest blacks and most vibrant colors it's capable of. It’s a core part of building a home theater that actually feels like a cinema.
I once helped a friend who spent a fortune on a 4K projector but complained the image looked weak. We spent a single afternoon installing proper blackout curtains and painting the wall around his screen a dark charcoal gray. The perceived contrast improvement was more dramatic than if he'd upgraded the projector itself. The difference is literally night and day.
An empty room with hard surfaces is an acoustic nightmare. Think hardwood floors, bare walls, and big windows. Sound waves bounce around uncontrollably, creating a chaotic mess of echo, harshness, and muddy dialogue. Taming these reflections is every bit as crucial as controlling the light.
This is where soft surfaces become your best friends. They absorb sound waves instead of reflecting them, leading to much clearer, more controlled, and immersive audio. You’d be surprised how much of a significant improvement even a few simple additions can make.
You don’t need to turn your room into a professional recording studio, but a few key additions will work wonders. The goal is to create a nice balance of absorption (soaking up sound) and diffusion (scattering sound) to get a natural, clear audio environment.
Here are some practical steps to get you started:
Getting the sound just right requires a bit of planning. To really dive deep, I recommend learning more about room acoustics and speaker placement to create a truly optimized space.
Finally, let’s talk power. A high-performance home theater draws a lot of electricity. It's a really smart move to have a dedicated electrical circuit installed just for your gear. This prevents things like your lights flickering when the subwoofer hits a deep bass note. A dedicated circuit also provides "cleaner" power, which reduces the risk of electrical interference that can introduce nasty hums or static into your audio system.

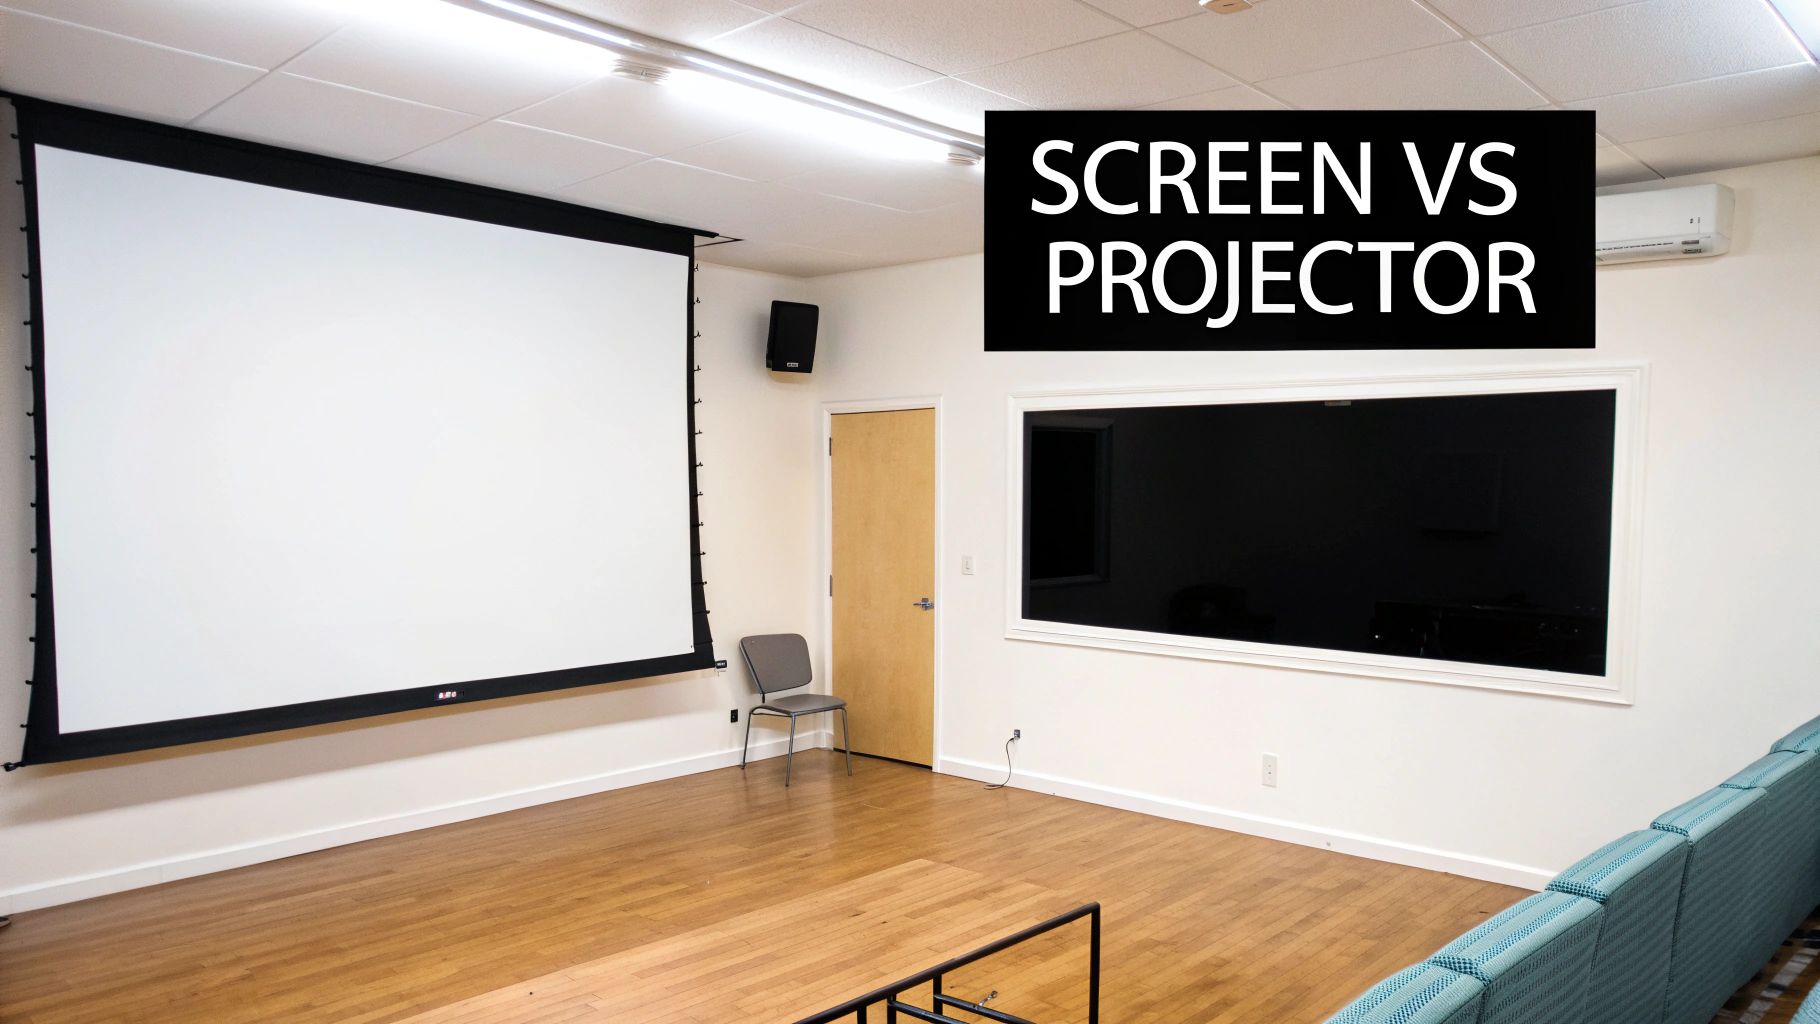
The visual centerpiece is what makes a home theater a theater. This brings us to the classic debate: do you go with a massive TV or a dedicated projector and screen? There’s no single right answer—it all comes down to your room, your budget, and how you’re actually going to use the space.
Think about the epic, cinematic scale of a 120-inch projector screen filling your vision in a pitch-black room. Then, picture the stunning, punchy colors and perfect blacks of an 85-inch OLED TV holding its own in a living room with some ambient light. Neither is inherently better; they just serve different masters.
If you're chasing that authentic, commercial cinema feeling, a projector is the undisputed champion. When the goal is maximum immersion and sheer scale, nothing else even comes close. The size of the image, often 100 inches or more, is something a TV just can't touch without costing as much as a new car.
But projectors have an Achilles' heel: they absolutely despise ambient light. To get that jaw-dropping picture with deep, inky blacks and rich contrast, you need a room that can be made almost completely dark. This is why light control, which we covered earlier, is non-negotiable for a projector-based setup.
The magic of a projector isn't just the size; it's how it engages your peripheral vision. A huge, projected image fills nearly your entire field of view, pulling you into the movie in a way a smaller, brighter TV can't quite match. It’s a more passive, film-like experience.
On the other side of the ring are today’s massive flat-panel TVs, especially those with OLED or high-end QLED technology. Their knockout punch? Performance in rooms that aren't a perfect black box. Because TVs create their own light, they can throw a bright, vibrant, and high-contrast image even with lamps on or daylight filtering through a window.
This makes a big TV the more practical choice for multi-purpose spaces like a family room or den. If your "home theater" also needs to host Super Bowl parties, casual TV binge-watching, and family gatherings, a television's versatility is a huge plus. Modern sets, particularly OLEDs, deliver perfect black levels and incredible color that can go toe-to-toe with any display technology out there.
Once you've picked a side, you'll need to cut through the marketing jargon. Don't get bogged down; just focus on the specs that make a real, visible difference.
Here’s what truly matters:
A new, high-end option is also starting to make waves. For those who want the brightness of a TV at the scale of a projector, you can now explore the latest SMART LED indoor LED wall panels. These create a completely seamless, scalable video wall, offering the best of both worlds for those with a serious budget.
Ultimately, your display choice is a balancing act. It’s the cinematic scale of a projector versus the vibrant, all-around performance of a TV. Be honest about your room's light control, think about how you'll really use the space, and pick the tech that brings your vision to life.

A stunning picture pulls your eyes into the action, but it’s the audio that truly tricks your brain into believing you’re there. A killer sound system is what separates just watching a movie from feeling it—where a whisper tickles your ear and an explosion rattles your chest. Getting this right is a huge part of learning how to build a home theater that delivers that magic.
The journey starts with understanding the language of surround sound. You'll see numbers like 5.1, 7.1, and mysterious terms like Dolby Atmos. These aren't just specs on a box; they represent different layers of immersion, each building on the last to create a believable soundscape.
Choosing the right format isn’t about picking what’s "best"—it's about what’s best for your room. A massive Dolby Atmos setup will feel like overkill in a small den, while a basic 5.1 system might get lost in a cavernous basement theater.
Here’s a quick breakdown:
Innovations in audio-visual tech are the main engine driving home theater market growth. Formats like Dolby Atmos and 8K video are becoming the new normal, letting builders and homeowners create truly immersive spaces. You can learn more about the trends shaping the home theater industry on datainsightsmarket.com.
To make sense of it all, here's a quick comparison to help you choose the best audio format for your room and immersion goals.
| Format | Typical Speaker Layout | Ideal for | Defining Feature |
|---|---|---|---|
| 5.1 | 3 Front, 2 Surround, 1 Subwoofer | Small to medium rooms, classic cinematic feel | The foundational surround sound experience. |
| 7.1 | 3 Front, 4 Surround, 1 Subwoofer | Medium to large rooms, enhanced immersion | Adds rear channels for a complete sound bubble. |
| Dolby Atmos / DTS:X | 5.1.2 up to 9.2.6+ | Dedicated theaters, ultimate realism | Adds overhead speakers for a true 3D soundscape. |
Ultimately, the format you choose will dictate your speaker layout and receiver needs, so it’s one of the first big decisions to make.
Once you’ve picked a format, it’s time to choose the speakers. This is all about matching the hardware to your room's dimensions and your personal style.
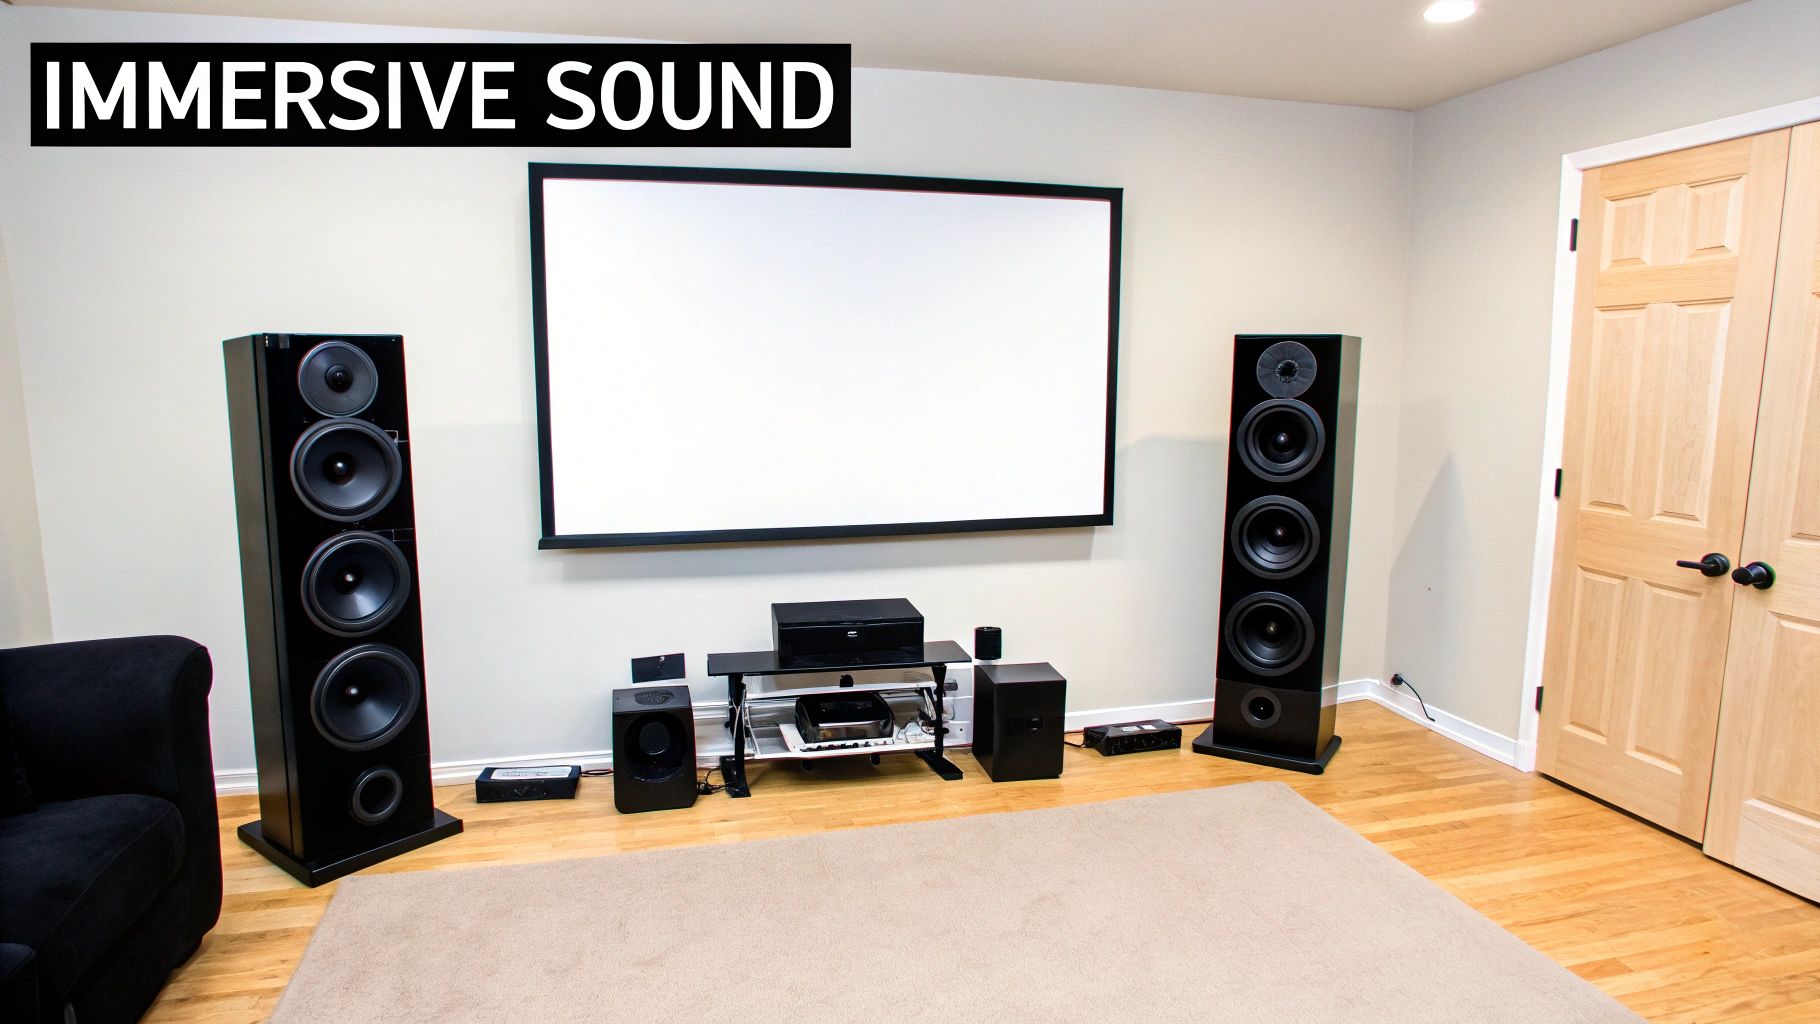
For instance, big floor-standing speakers (or "towers") are fantastic for larger rooms because they can move a lot of air and produce a powerful, full-range sound without straining. But in a smaller room, they can create overpowering, "boomy" bass.
On the other hand, compact bookshelf speakers are a brilliant choice for small to medium-sized rooms. Pair them with a good subwoofer, and you can get a dynamic, detailed performance that rivals systems twice their size.
And for anyone chasing a minimalist look, in-wall or in-ceiling speakers offer a nearly invisible solution. They’re installed right into your drywall, giving you the cleanest possible aesthetic—perfect for multi-use media rooms where you don’t want tech dominating the decor.
A common mistake is buying speakers that are too big for the room. This doesn't just waste money; it actively tanks the sound quality. Overpowered speakers create uncontrolled bass that muddies dialogue and ruins the cinematic effect. It’s always better to have a smaller, higher-quality system that's perfectly matched to your space.
If the speakers are the voice, the Audio/Video Receiver (AVR) is the brain. This single box does several critical jobs: it powers your speakers, decodes the surround sound formats, and switches between all your sources, like a Blu-ray player, Apple TV, or Xbox.
When you're shopping for an AVR, you need to make sure it’s a good match for your speaker setup.
Getting the audio right is a delicate balance. It's about choosing the right format, matching speakers to the room, and picking a receiver that can tie it all together beautifully. Take your time here—these decisions will have the biggest impact on how believable your home theater experience truly feels.
You’ve picked out all the big-ticket items—the screen, the speakers, the heart of your system. Now comes the part that ties it all together, the invisible workhorse that separates a truly polished home theater from a frustrating tangle of wires: the wiring and integration.
This is more than just plugging things in. It’s about building a clean, reliable foundation for your entire system. The reality is, the performance of your thousands of dollars of equipment is only as strong as the weakest link connecting it.
Let's be clear: not all cables are created equal, and using the wrong ones will absolutely bottleneck your system. For any modern 4K or 8K setup, certified Ultra High-Speed HDMI cables are non-negotiable. These are specifically built to handle the massive firehose of data needed for things like 4K at 120Hz and dynamic HDR, making sure you actually see the stunning picture quality you paid for.
When it comes to your speakers, the gauge of the wire is what matters. A lower gauge number means a thicker wire, which is what you want for longer cable runs or for power-hungry floor-standing speakers. For most rooms, 14- or 16-gauge wire hits that perfect sweet spot between performance and cost.
I can't tell you how many times I've seen someone spend a fortune on their gear, only to skimp on the cables. They’ll grab a cheap, uncertified HDMI cable from a bargain bin and then wonder why their 4K Blu-ray player keeps dropping the signal. Think of your cable as the highway for your AV signal—you don't build a superhighway that suddenly turns into a bumpy dirt road.
That "rat's nest" of wires behind your AV rack isn't just an eyesore. It's a nightmare when you need to troubleshoot a problem and can even introduce signal interference. A clean wiring plan is one of the true hallmarks of a thoughtfully built home theater.
Here are a few go-to strategies for taming the mess:
With everything wired up, you're left with the final puzzle: a coffee table littered with a half-dozen remotes. The real goal here is to get to a simple, one-button operation that anyone—even a guest—can use without needing a 10-minute tutorial.
A good universal remote is a great place to start, merging all those different commands into a single, intuitive handset.
For the ultimate integrated experience, though, smart home automation is the answer. For those with more complex systems, digging into a MQTT Home Assistant setup can open up a world of powerful, custom control.
Just imagine hitting one "Movie Night" button. The lights dim, the screen lowers, the projector and receiver fire up, and all the inputs switch automatically. That’s the kind of automation that transforms a collection of high-tech components into a single, cohesive experience. When you get into really high-end setups with multiple video sources and displays, you need serious hardware to manage it all. You can get a sense of how this works by checking out how a studio-grade LED video processor juggles these complex tasks for massive video walls.
You’ve done the heavy lifting. The drywall dust has settled, the gear is all wired up, and the components are finally in place. But don't crack open the popcorn just yet. This last phase is what turns your collection of high-tech boxes into a single, cohesive cinematic system. Calibration, seating, and lighting are the critical final steps that separate a good home theater from a truly breathtaking one.
Think of it this way: these finishing touches deliver the last 20% of performance that makes 80% of the difference. Even the most expensive equipment on the planet will feel underwhelming if it's not dialed in correctly.
First things first, let's get that system calibrated. Your AV receiver came with a little microphone for a reason. Modern receivers are packed with powerful room correction software like Audyssey, Dirac Live, or Yamaha's YPAO. These systems are designed to measure how your speakers interact with your room's unique acoustic signature and then automatically adjust the sound for incredible clarity and balance.
Running this automated setup is a non-negotiable first step. It's the magic that makes dialogue feel anchored to the screen and ensures surround effects fly around you exactly as the sound mixers intended.
Now for the video. You don't need to hire a professional to get a fantastic picture. A good calibration disc is your best friend here, but even using on-screen test patterns can get you most of the way. You’ll want to focus on three core settings:
It’s so easy to get excited and skip these final adjustments, but they are absolutely essential. An uncalibrated system is like an orchestra playing without a conductor. All the individual pieces are there, but they aren’t working together to create a harmonious experience.
The home theater market is constantly evolving, with a huge push toward personalization that allows owners to fine-tune their systems like never before. From room-specific tweaks to expanded connectivity, the options are growing. You can dive deeper into current home theater market trends on datainsightsmarket.com.
Believe it or not, your seating choice is about much more than just comfort. It actually dictates the quality of the viewing experience for everyone in the room. You need to make sure your primary seats are smack-dab in the "sweet spot," where the audio and video are perfectly aligned. If you’re planning on multiple rows, building a riser is a must to give everyone an unobstructed view of the screen.
Finally, lighting control is what truly sets the mood. Installing smart dimmers is a total game-changer, giving you that real-cinema feel as the lights slowly fade down. For ambient light, stick to low-voltage options like wall sconces or rope lights along a riser. They provide just enough light to move around safely without causing distracting reflections on the screen.
The ultimate final touch? A single button on a remote that dims the lights, fires up the projector, and starts the show. That’s when you know you’ve truly arrived.
As you start piecing together your dream home theater, you're bound to have questions. It’s a project with a lot of moving parts, from nailing down the budget to making tricky technical choices. Let's tackle some of the most common questions that pop up, with practical answers to help you make the right calls.
This is the big one, and the honest answer is: it varies. A lot. You could put together a solid living room setup for a few thousand dollars, or you could go all-out on a dedicated space that costs well over $20,000.
For most people, a realistic starting point for a truly great experience lands somewhere in the $5,000 to $10,000 range. That kind of budget comfortably covers the essentials: a quality 4K projector and screen, a powerful AV receiver, a full 5.1 speaker system, and some decent seating to enjoy it all from.
While a dedicated room is the gold standard for getting that perfect, controlled environment, it's absolutely not a requirement. You can get a fantastic, immersive theater experience right in your multi-purpose living room.
The secret is managing the environment—specifically, light and sound.
A common myth is that you need a dark, cave-like room for a great picture. Honestly, a well-planned living room with smart light control and a bright TV can often look better than a poorly executed dedicated theater.
If you're chasing that ultimate feeling of immersion, the answer is a resounding yes. Dolby Atmos is what takes your audio from just "surround sound" to a true three-dimensional experience.
By adding height channels with overhead or upward-firing speakers, it makes sound effects feel startlingly real. Think of rain falling from above or a helicopter flying right over your head. It moves the sound from a flat circle around you to a complete bubble of audio. It’s the closest you can get to a commercial cinema feel at home, and it’s a massive upgrade over a standard 5.1 or 7.1 system.
For the most part, yes! If you're comfortable with basic tech, a lot of the setup is perfectly DIY-friendly. Placing speakers, connecting an AV receiver, and even running a basic video calibration are all things you can tackle on your own.
However, know when to call in a pro. For the more complex stuff, especially where safety or specialized skills are involved, an expert is worth every penny. Think running wires inside walls, securely mounting a heavy projector to the ceiling, or installing professional-grade acoustic treatments. Hiring a professional for those jobs ensures it’s done safely and looks polished.
Ready to create the ultimate visual experience for your home theater? At Smart LED Inc., we provide state-of-the-art LED video walls that deliver unparalleled brightness, color, and clarity, transforming any room into a cinematic masterpiece. Explore our home theater solutions at https://smartledinc.com.

In a world buzzing with digital noise, how do you make sure your church’s most important messages actually get heard? It's a real challenge. You

Trying to pin down the cost of a digital sign can feel a bit like asking, "How much does a car cost?" The answer is

Outdoor LED sign lighting is so much more than just a way to light up your business name. Think of it as a dynamic, living
"*" indicates required fields